Music
Tots Posts
Making_the_Pot
2023-03-13 - Banjo - Building
What I’ve noticed about banjos, at least more than I have with other instruments, is the shear amount of differences in shape, size, and sound [there is a chance that this is just bias from building this instrument and researching it a bunch] they seem to have. I think what this diversity allows me to do is create a unique looking and sounding instrument that also caters to my woodworking ability [more like lack of. good thing my dads around to fill in the gaps… or craters].
With this in mind, I do enjoy the look of a rough banjo made almost entirely of straight cuts with an exception of the head and this would fall perfectly into within my ability. We decided to take lots of inspiration from Clifton Hicks Kentucky style banjo. It looks to mostly include straight cuts but still has a unique and finished feel when completed [i believe he even mentions that it’s a good style banjo to start with].
Last week we were able to get started on the pot because we were actually able to find some oak boards at Lowes, of all places,[HA! i told you I could find hardwood at a general hardware store]. We spent a bit of time drawing out the exact shape we were going to go for and landed on an elongated hexagon that was equiangular but not equilateral. We decided this would be a good shape because it wasn’t too wide and cumbersome to hold in my lap while playing [don’t want a point to poke me in the eye when playing] but still maintained the initial vision.
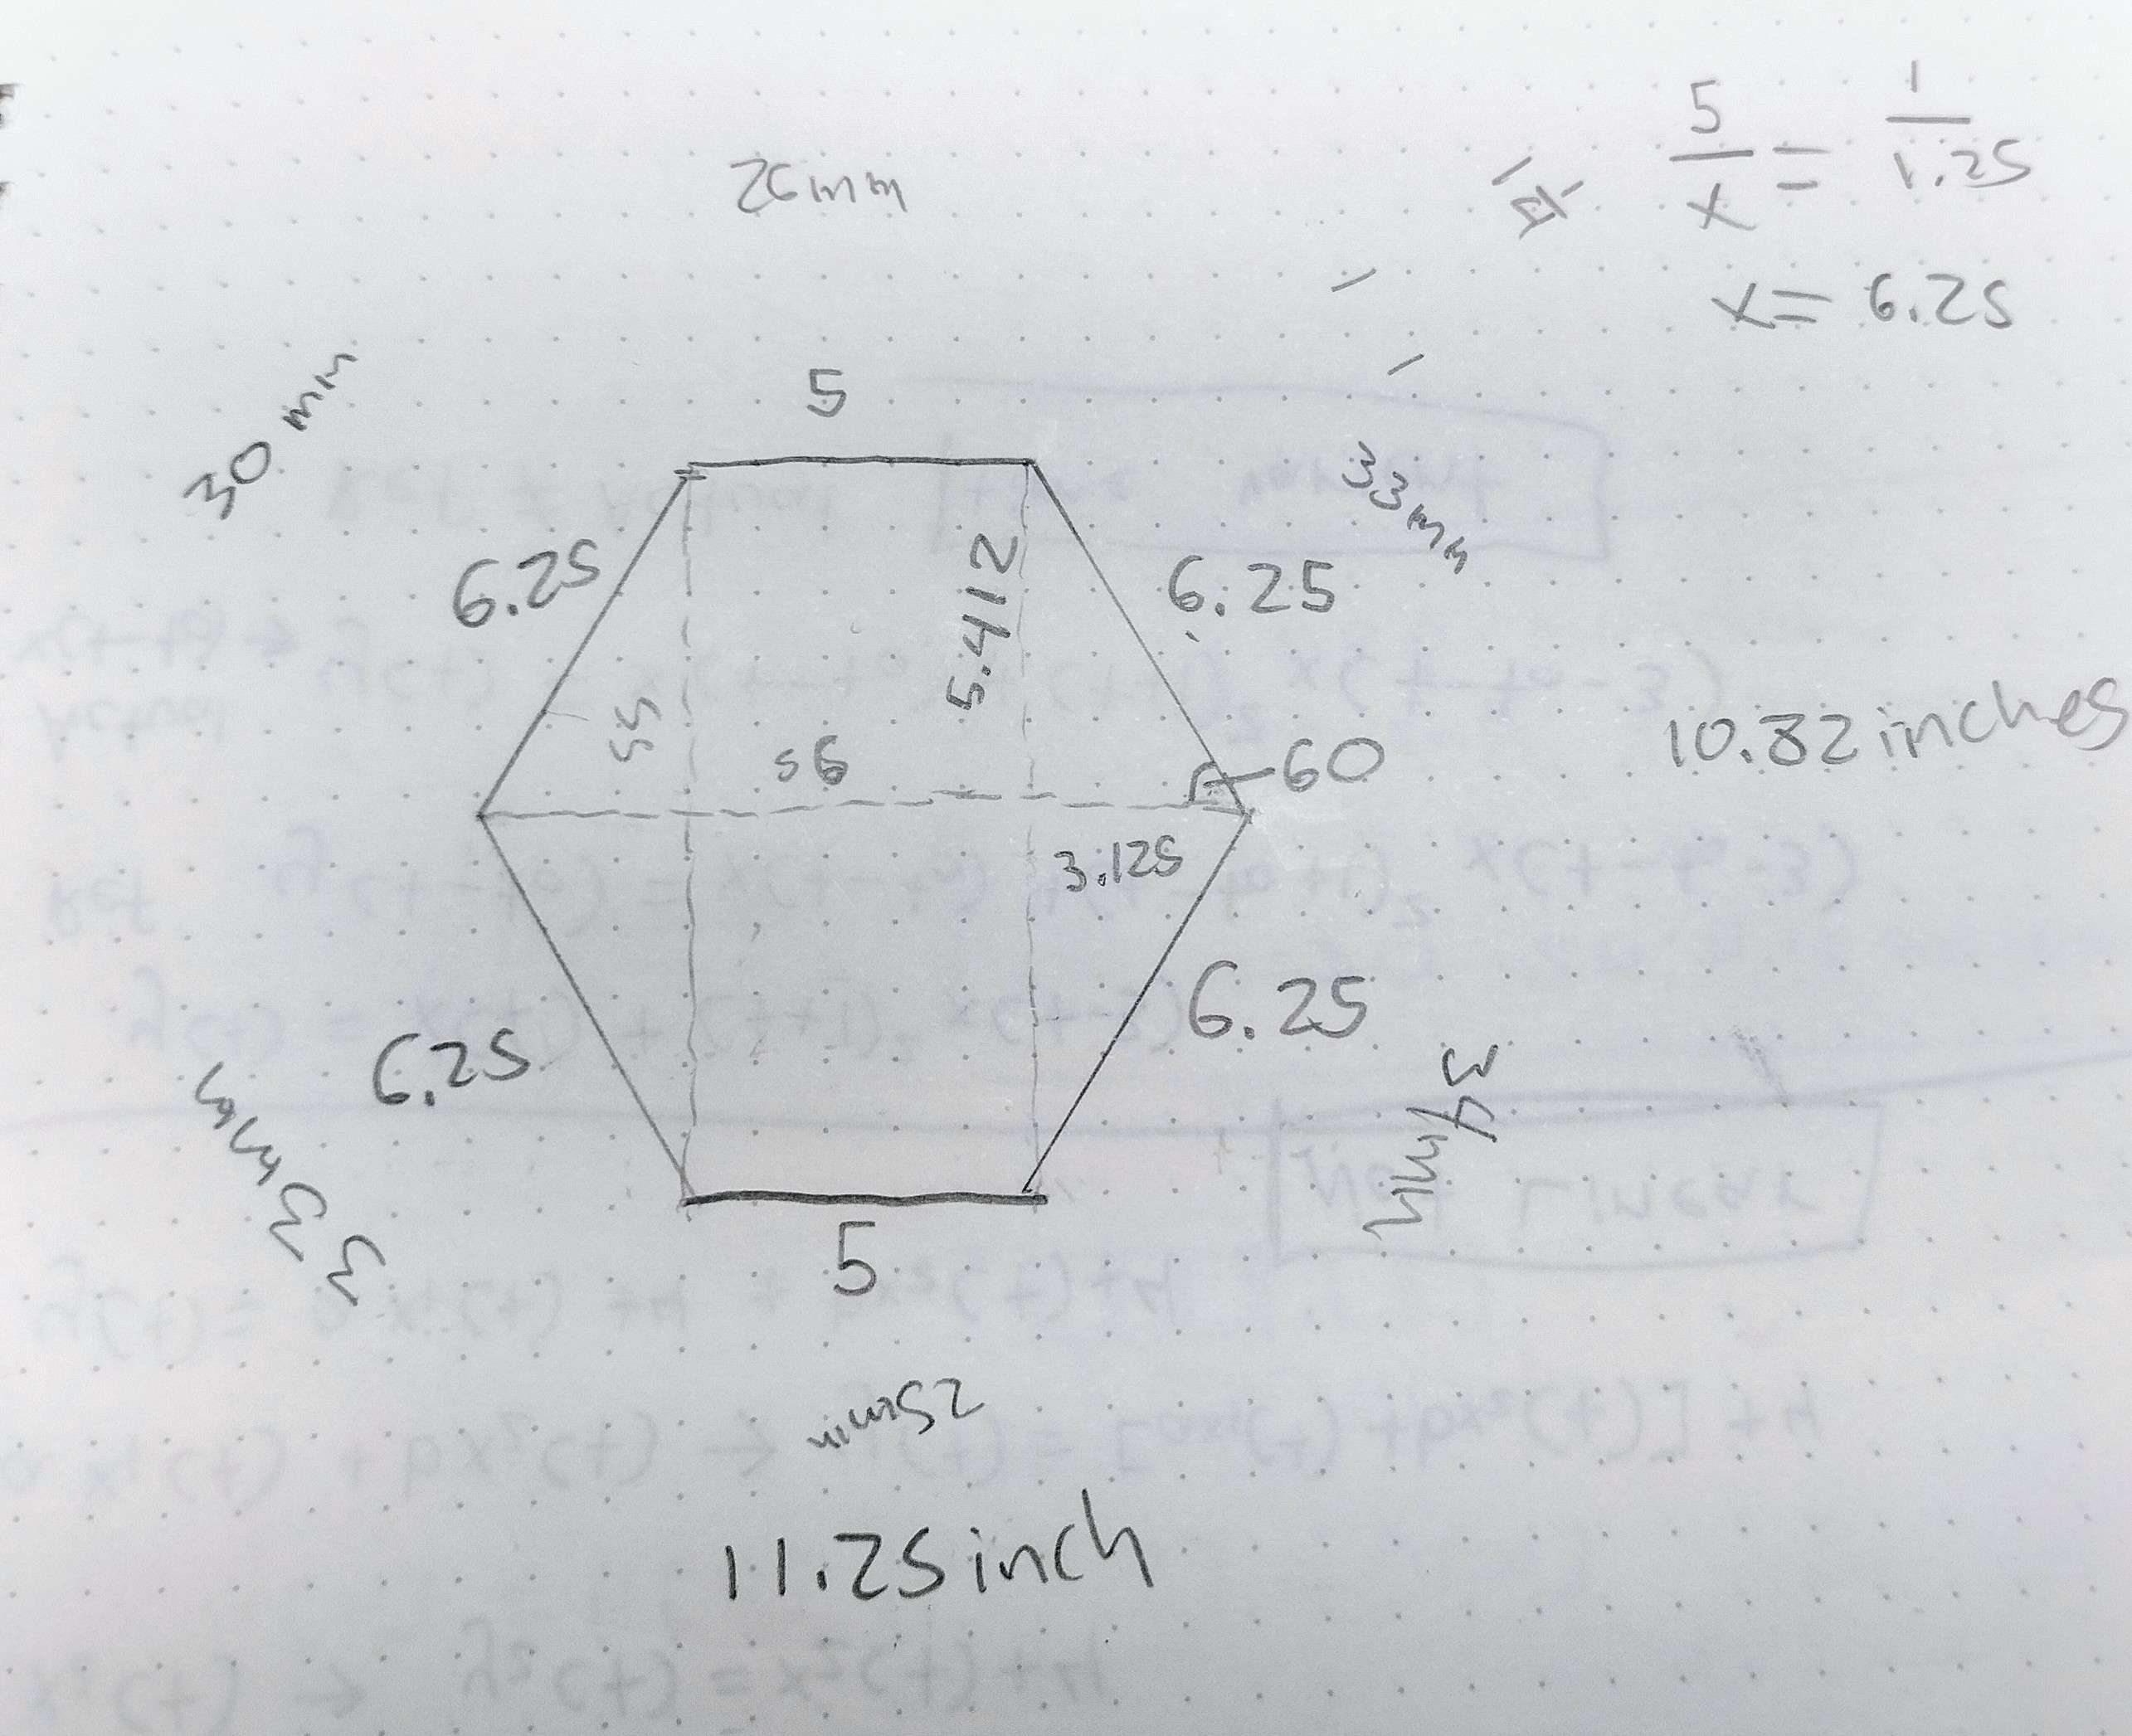
Once we got the measurements all figured out, we transferred it to scale onto a parchment paper that we laid over the oak board. This let us get a visual feel for what cuts would need to be made. We used a protractor [haven’t used one of those since high school geometry] to make sure that the angles where pretty spot on.
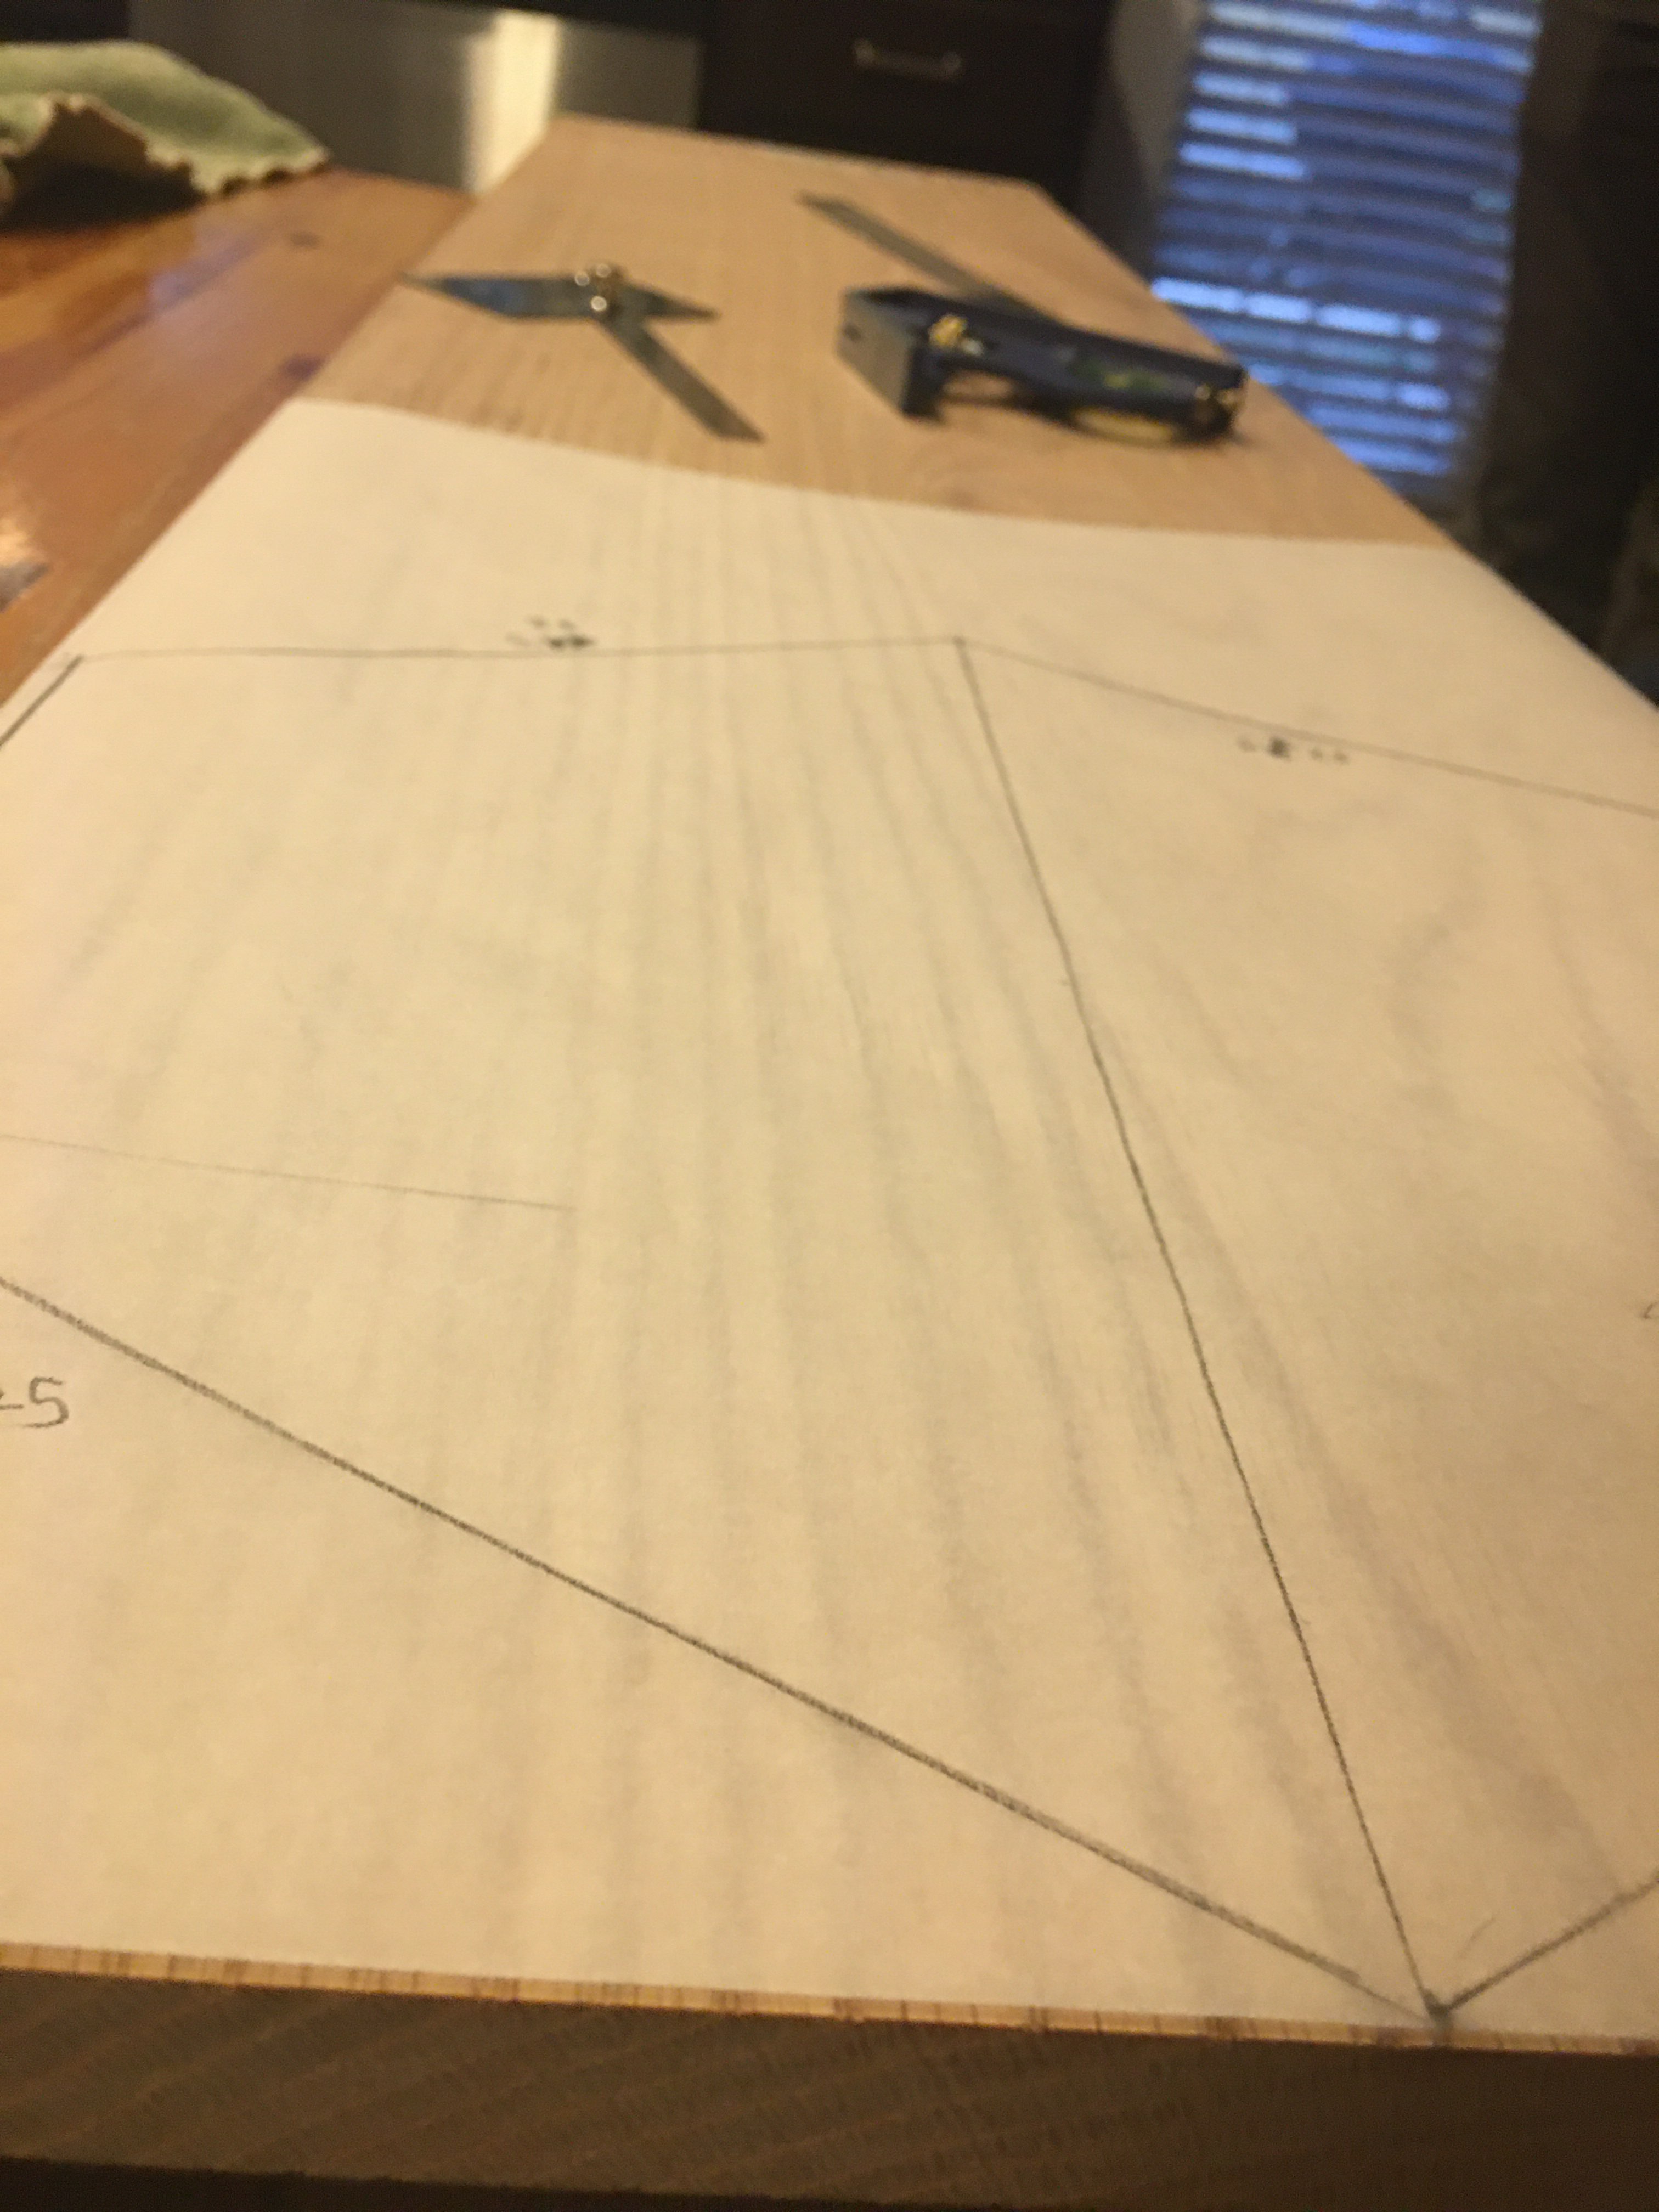
When we were happy with the parchment paper layout, we transferred it to the board with an exacto-knife by scoring the lines onto the wood. We then took it to the bench and used a C-clamp to hold it in place and a miter saw to get the nice straight cuts [well… as straight as i could get them with my wiggly arms]. A miter saw has a reinforced back-edge to reduce any bending of the blade [doesn’t help much if your a shaky human] resulting in a straighter cut.
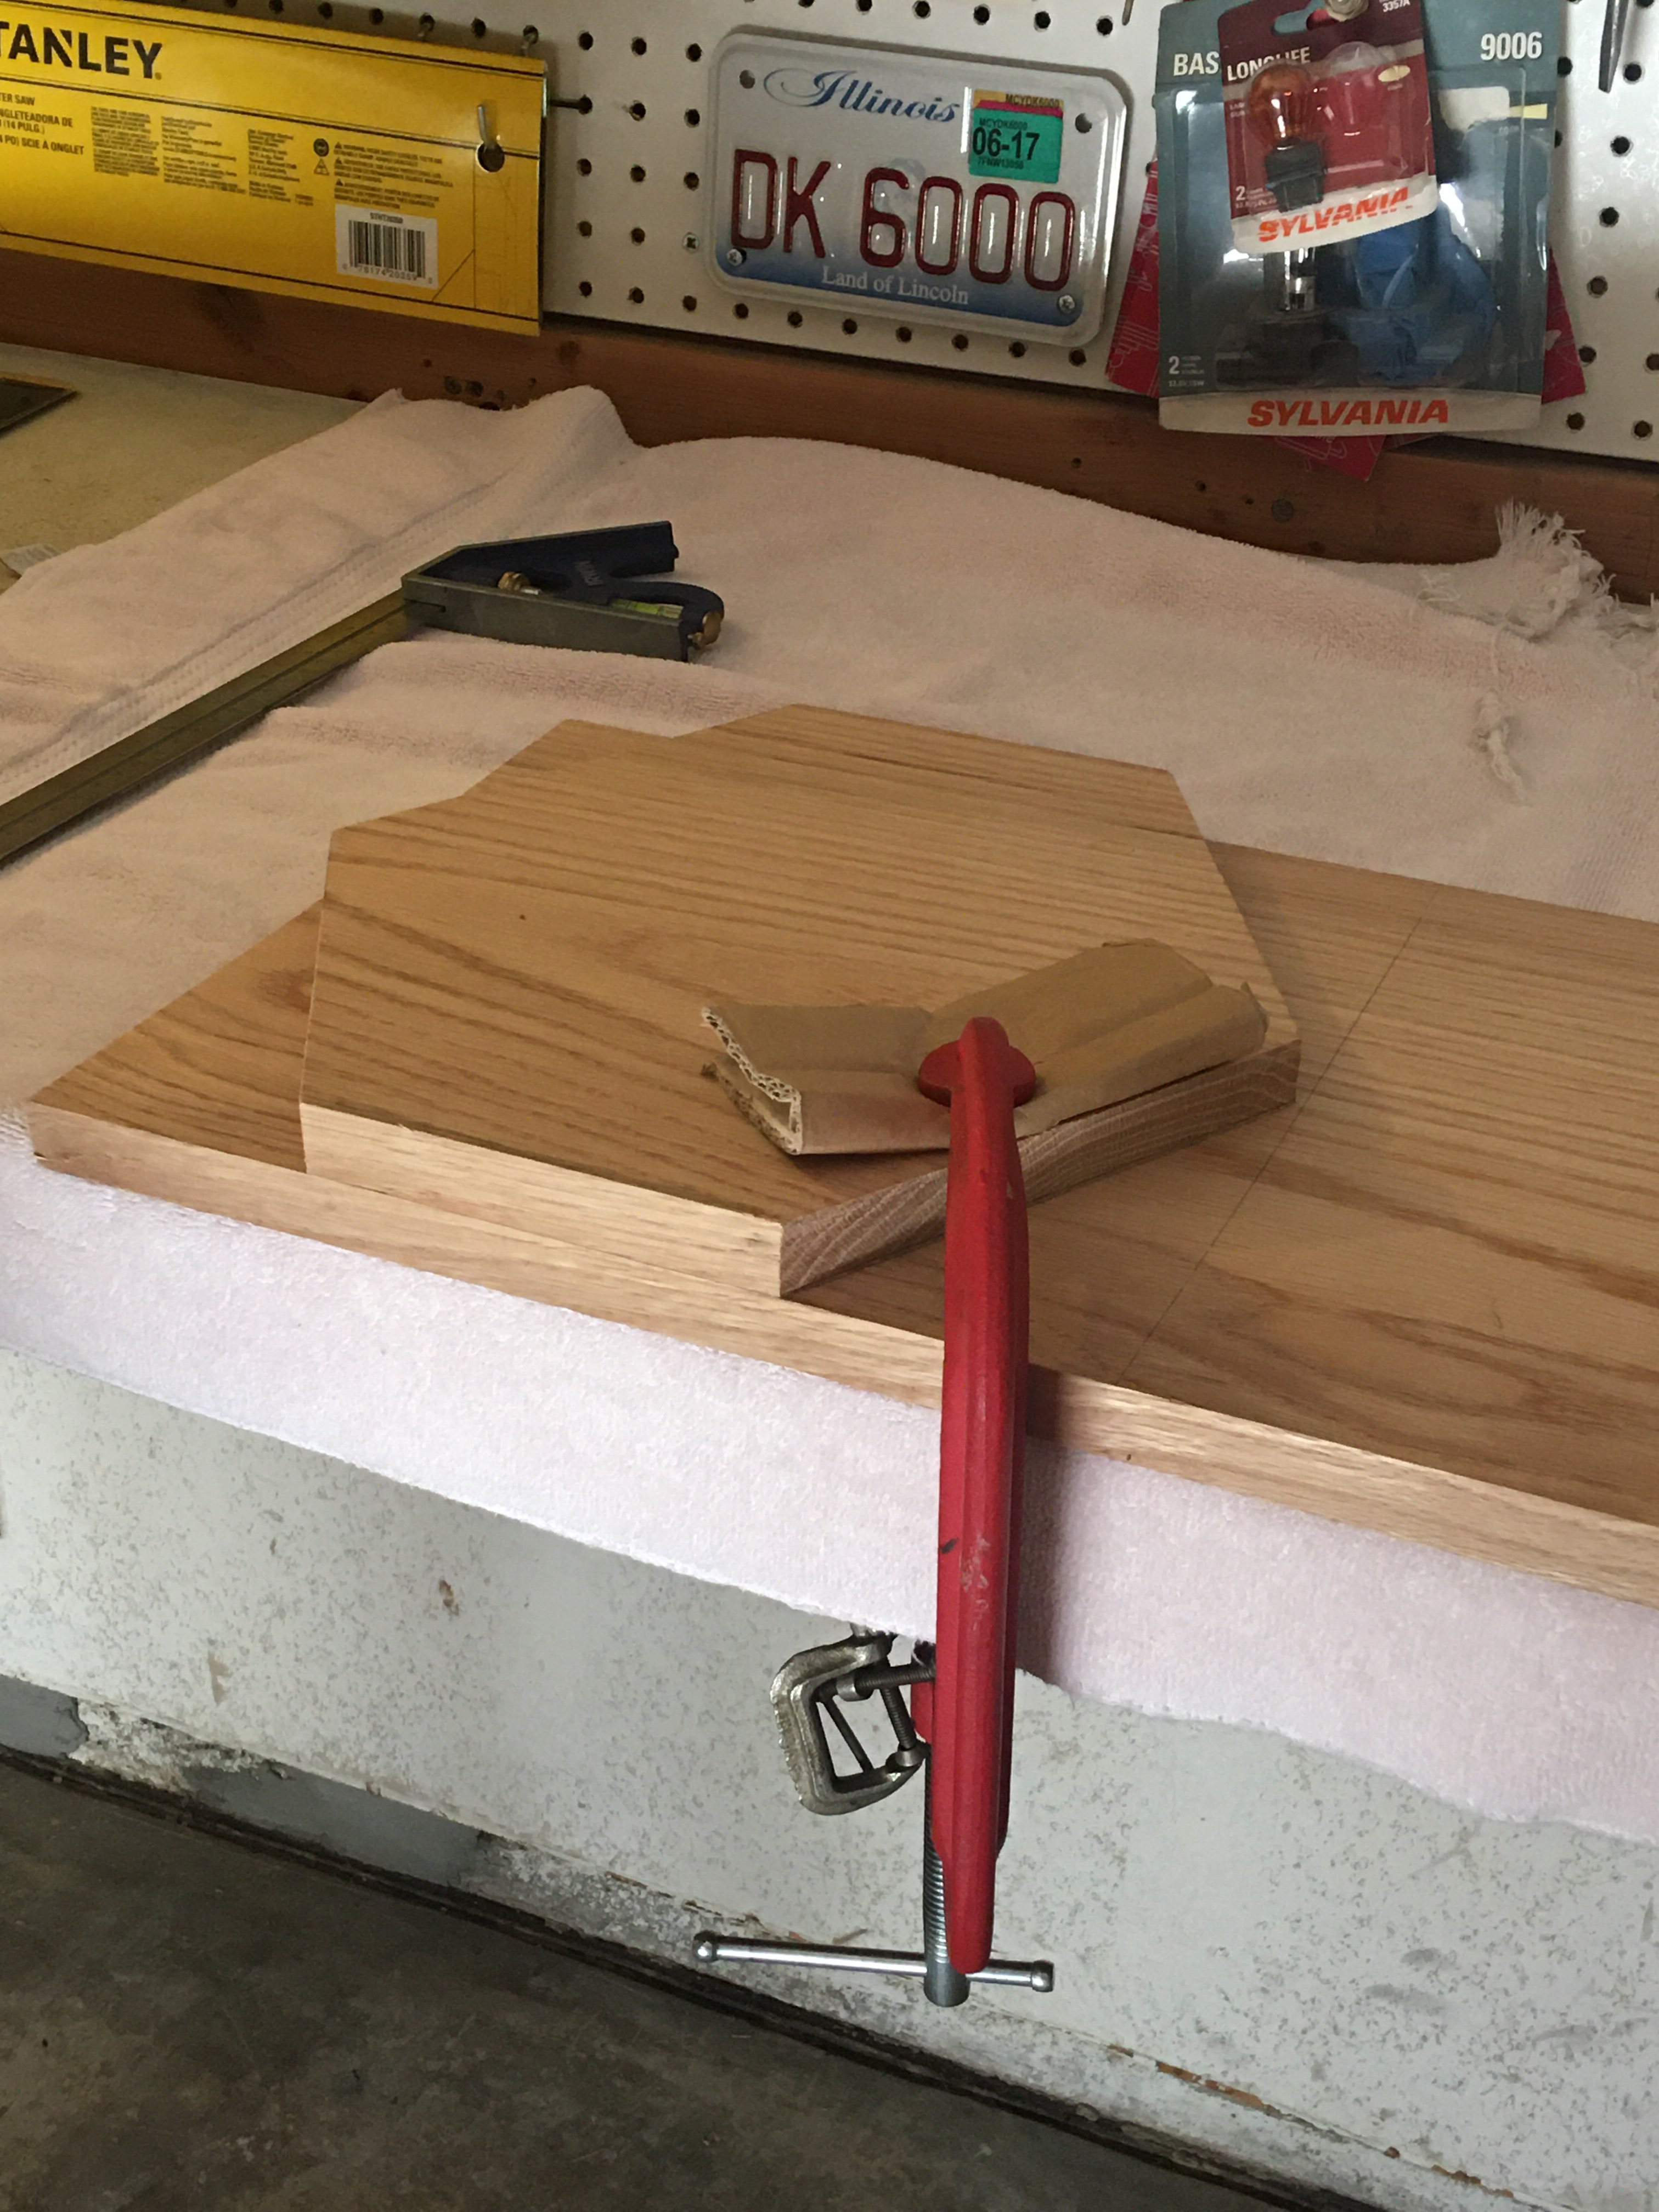
We then just placed the first completed pot layer onto the oak board and traced the outline twice more. What we might do differently next time is give a bit more space between each outline instead of placing them right next to each other. This is because one of the side vertices started losing its point about halfway through the board. We expect came from the straight cut of the layer next to it [you can see the straight cut i’m talking about to the right of the hexagon, drawn in pencil]. This shouldn’t be too big of an issues to work with [fingers crossed] but may be something to consider next time.
After the other two outlines were cut, we stacked all three together to see how the pot would look size and thickness-wise [those are the official terms].
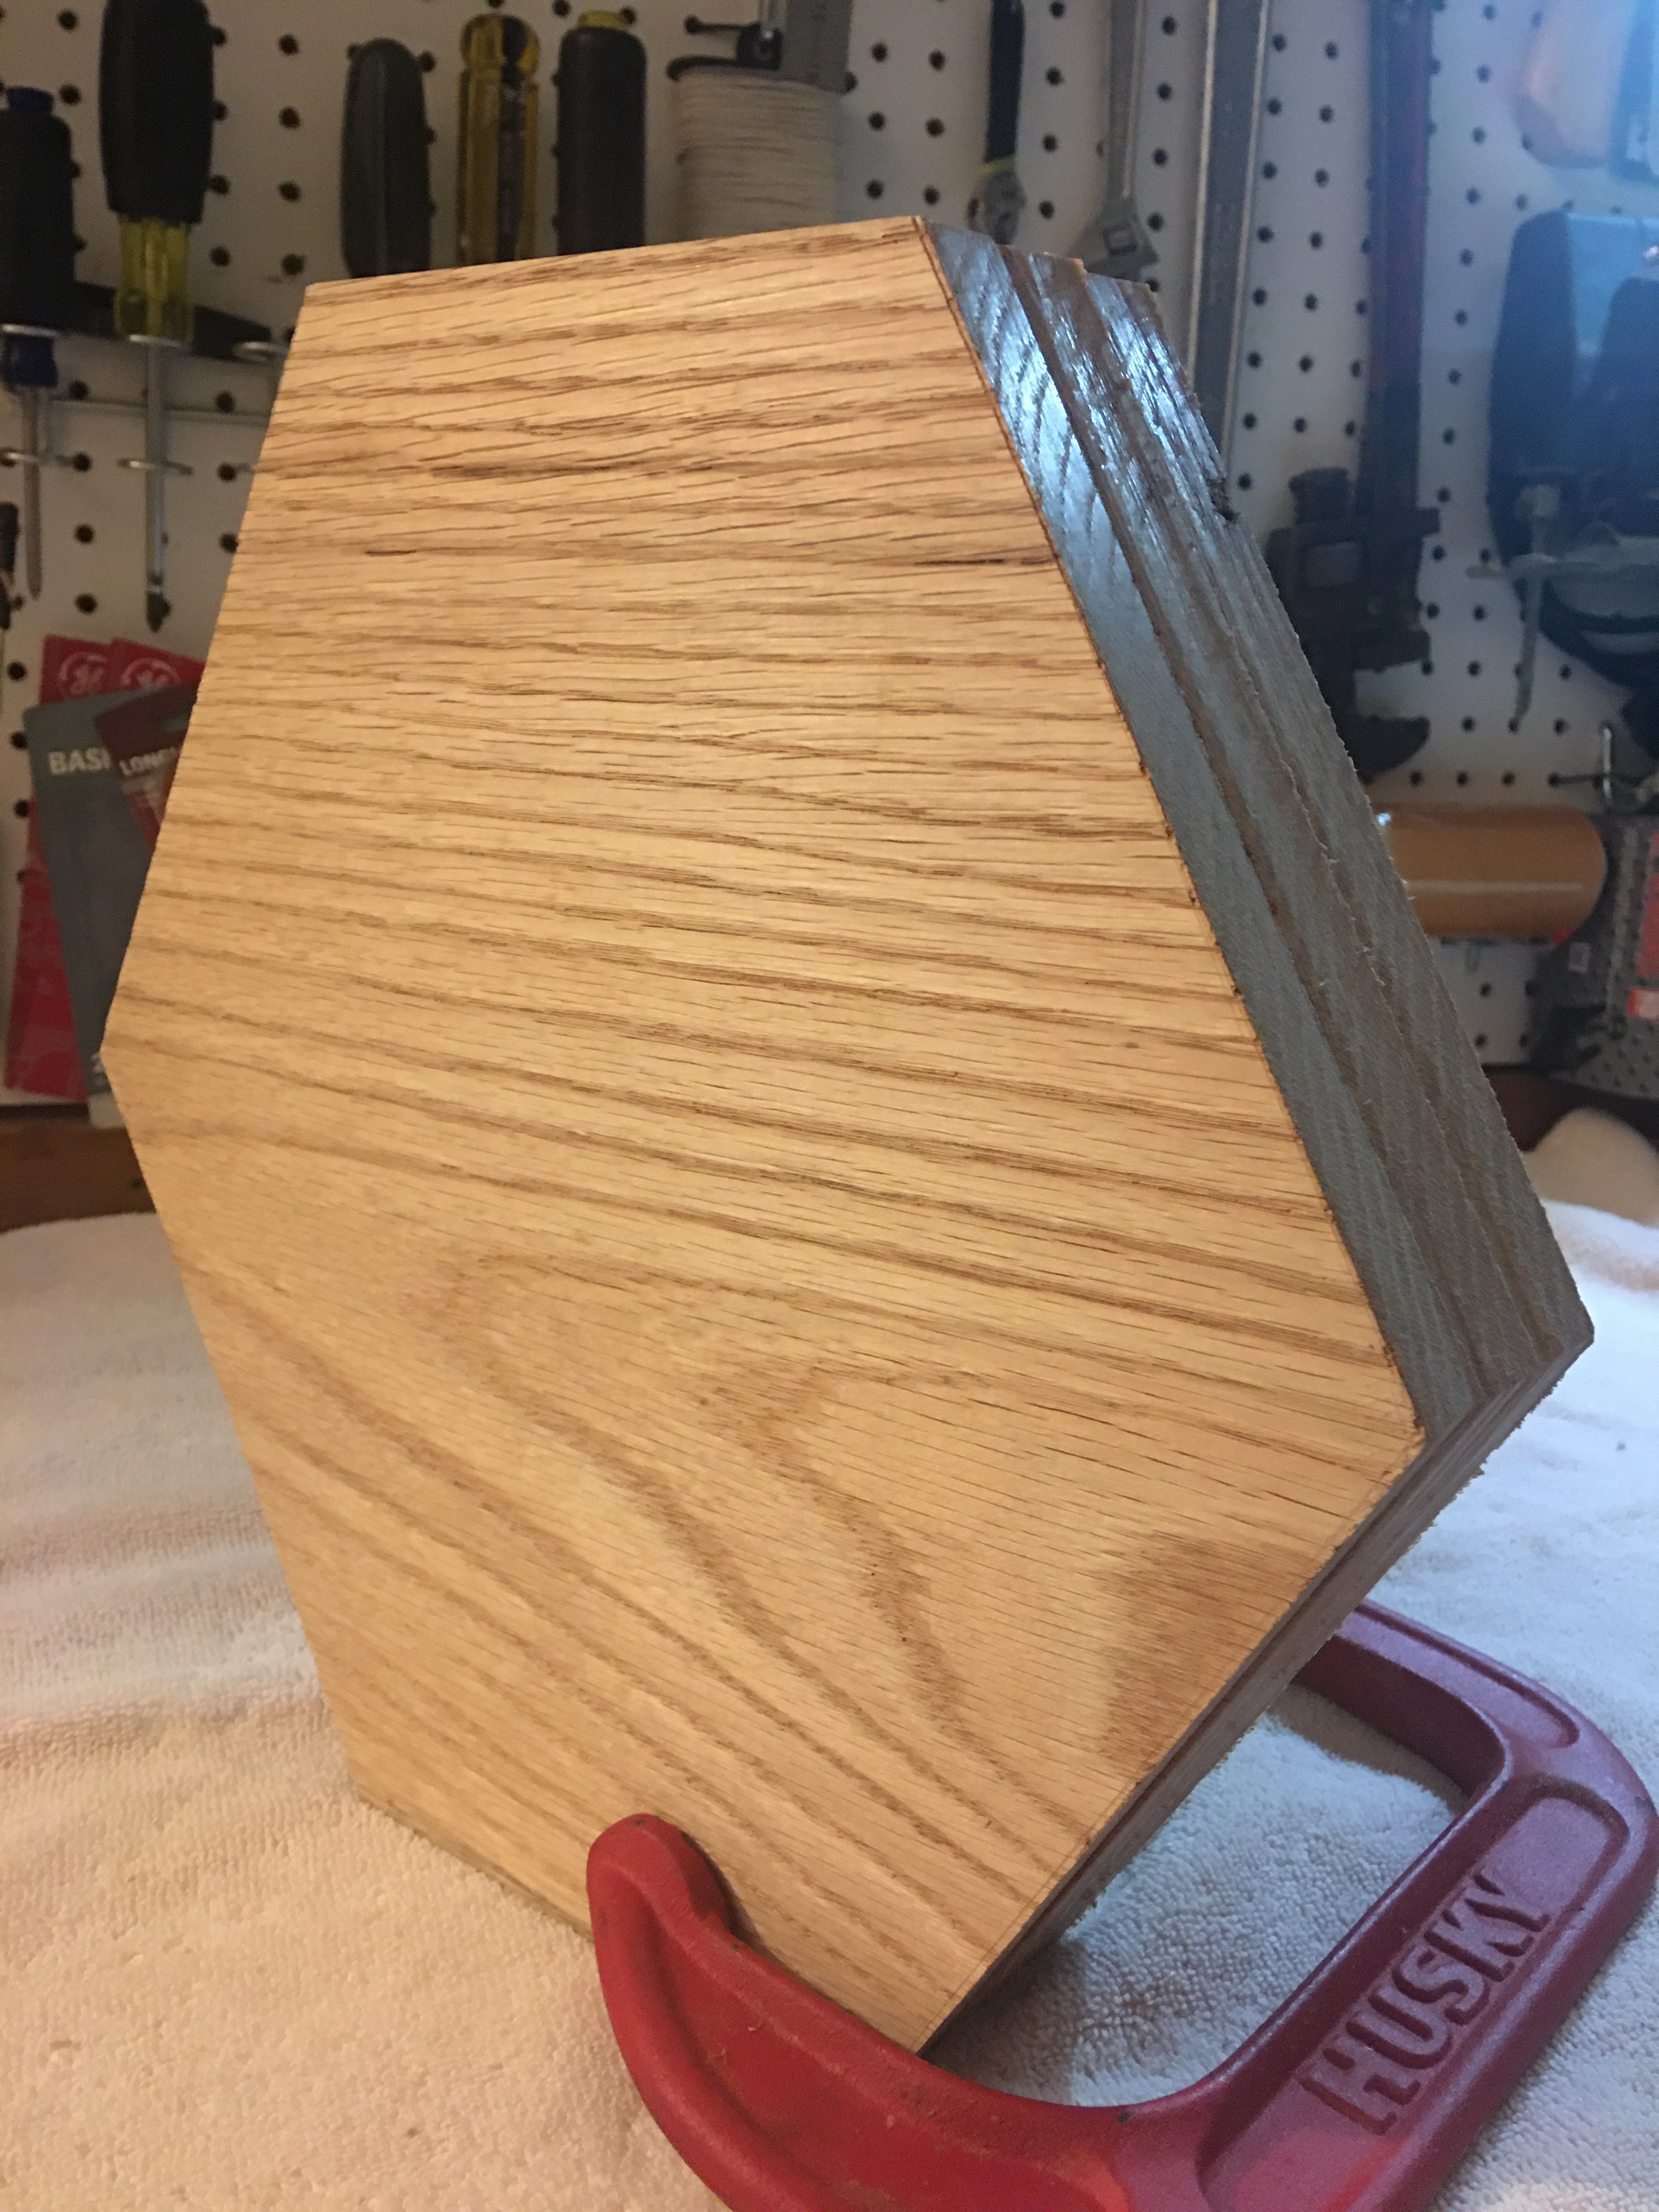
I think it turned out pretty cool! Here is just a quick rundown of the materials we used to get to this point for reference.
- 12x48x1 inch red oak board [from lowes. HAHA!]
- Parchment Paper
- Protractor
- C-clamp
- Miter Saw
That’s all for this installment of banjo build!
Banjo_Jam
2023-03-02 - Banjo - Playing
Okay! I just uploaded the first couple videos of me playing my banjo [I hope I don’t sound that bad]. I also was able to drag my sister into playing with me. Surprisingly she's the one who’s only been playing the mandolin for a couple months while I've been playing banjo for two years [unfair].
We learned three old time songs Cripple Creek, Kitchen Girl, and Sugar Hill. All things considered, I don’t think we sound half bad.
I think the main improvements I can make to my playing is maybe some work with a metronome because I seem to tend to rush or lag behind. I also am always working on trying to get a clearer ring from each note [always seems to be an issue for me]. But, again, I am not to unhappy with how I sound and am really impressed with how quickly my sister was able to pick up the mandolin.
Hope you enjoyed. Updates on the Banjo Build coming soon!
Wood_Scouting
2023-02-23 - Banjo - Build
The truth is I’m not very good at playing banjo. And the first thing a bad musician does is blame their instrument for how bad they sound. Well believe me when I say I need a really good excuse for sounding this bad [there’s a reason I haven’t posted myself playing yet]. So I decided the only way to give myself that big of an excuse is to build the instrument myself [although then my dad got involved so now I might have to find a new excuse].
The style of banjo I play [or attempt to play] is called clawhammer or frailing banjo. It’s heard a lot in old-time music with, what I find to be, a much warmer, more rustic tone than the twangier and brighter bluegrass and Scruggs style banjo.
I found a fella’ by the name of Clifton Hicks that seems to have some videos that go into building a banjo that, I believe, emphasizes exactly that tone. I really like the sound and look of his Fretless Kentucky style banjo and I think for a beginner woodworker like myself, it doesn’t seem all to difficult to try and replicate [we’ll see once we get into the thick of it].
It looks like wood selection has a pretty major impact on sound and Mr. Hicks has a couple recommendations. It seems like, basically, you want hardwood for every part of the banjo. He even mentions that some older banjos were made entirely of maple. He notes that maple, cherry, or walnut are preferable for the neck, tuning pegs, bridge, and tail piece while red oak is good for the pot. This is because he finds that the porousness of the oak contributes to a great sound from the pot.
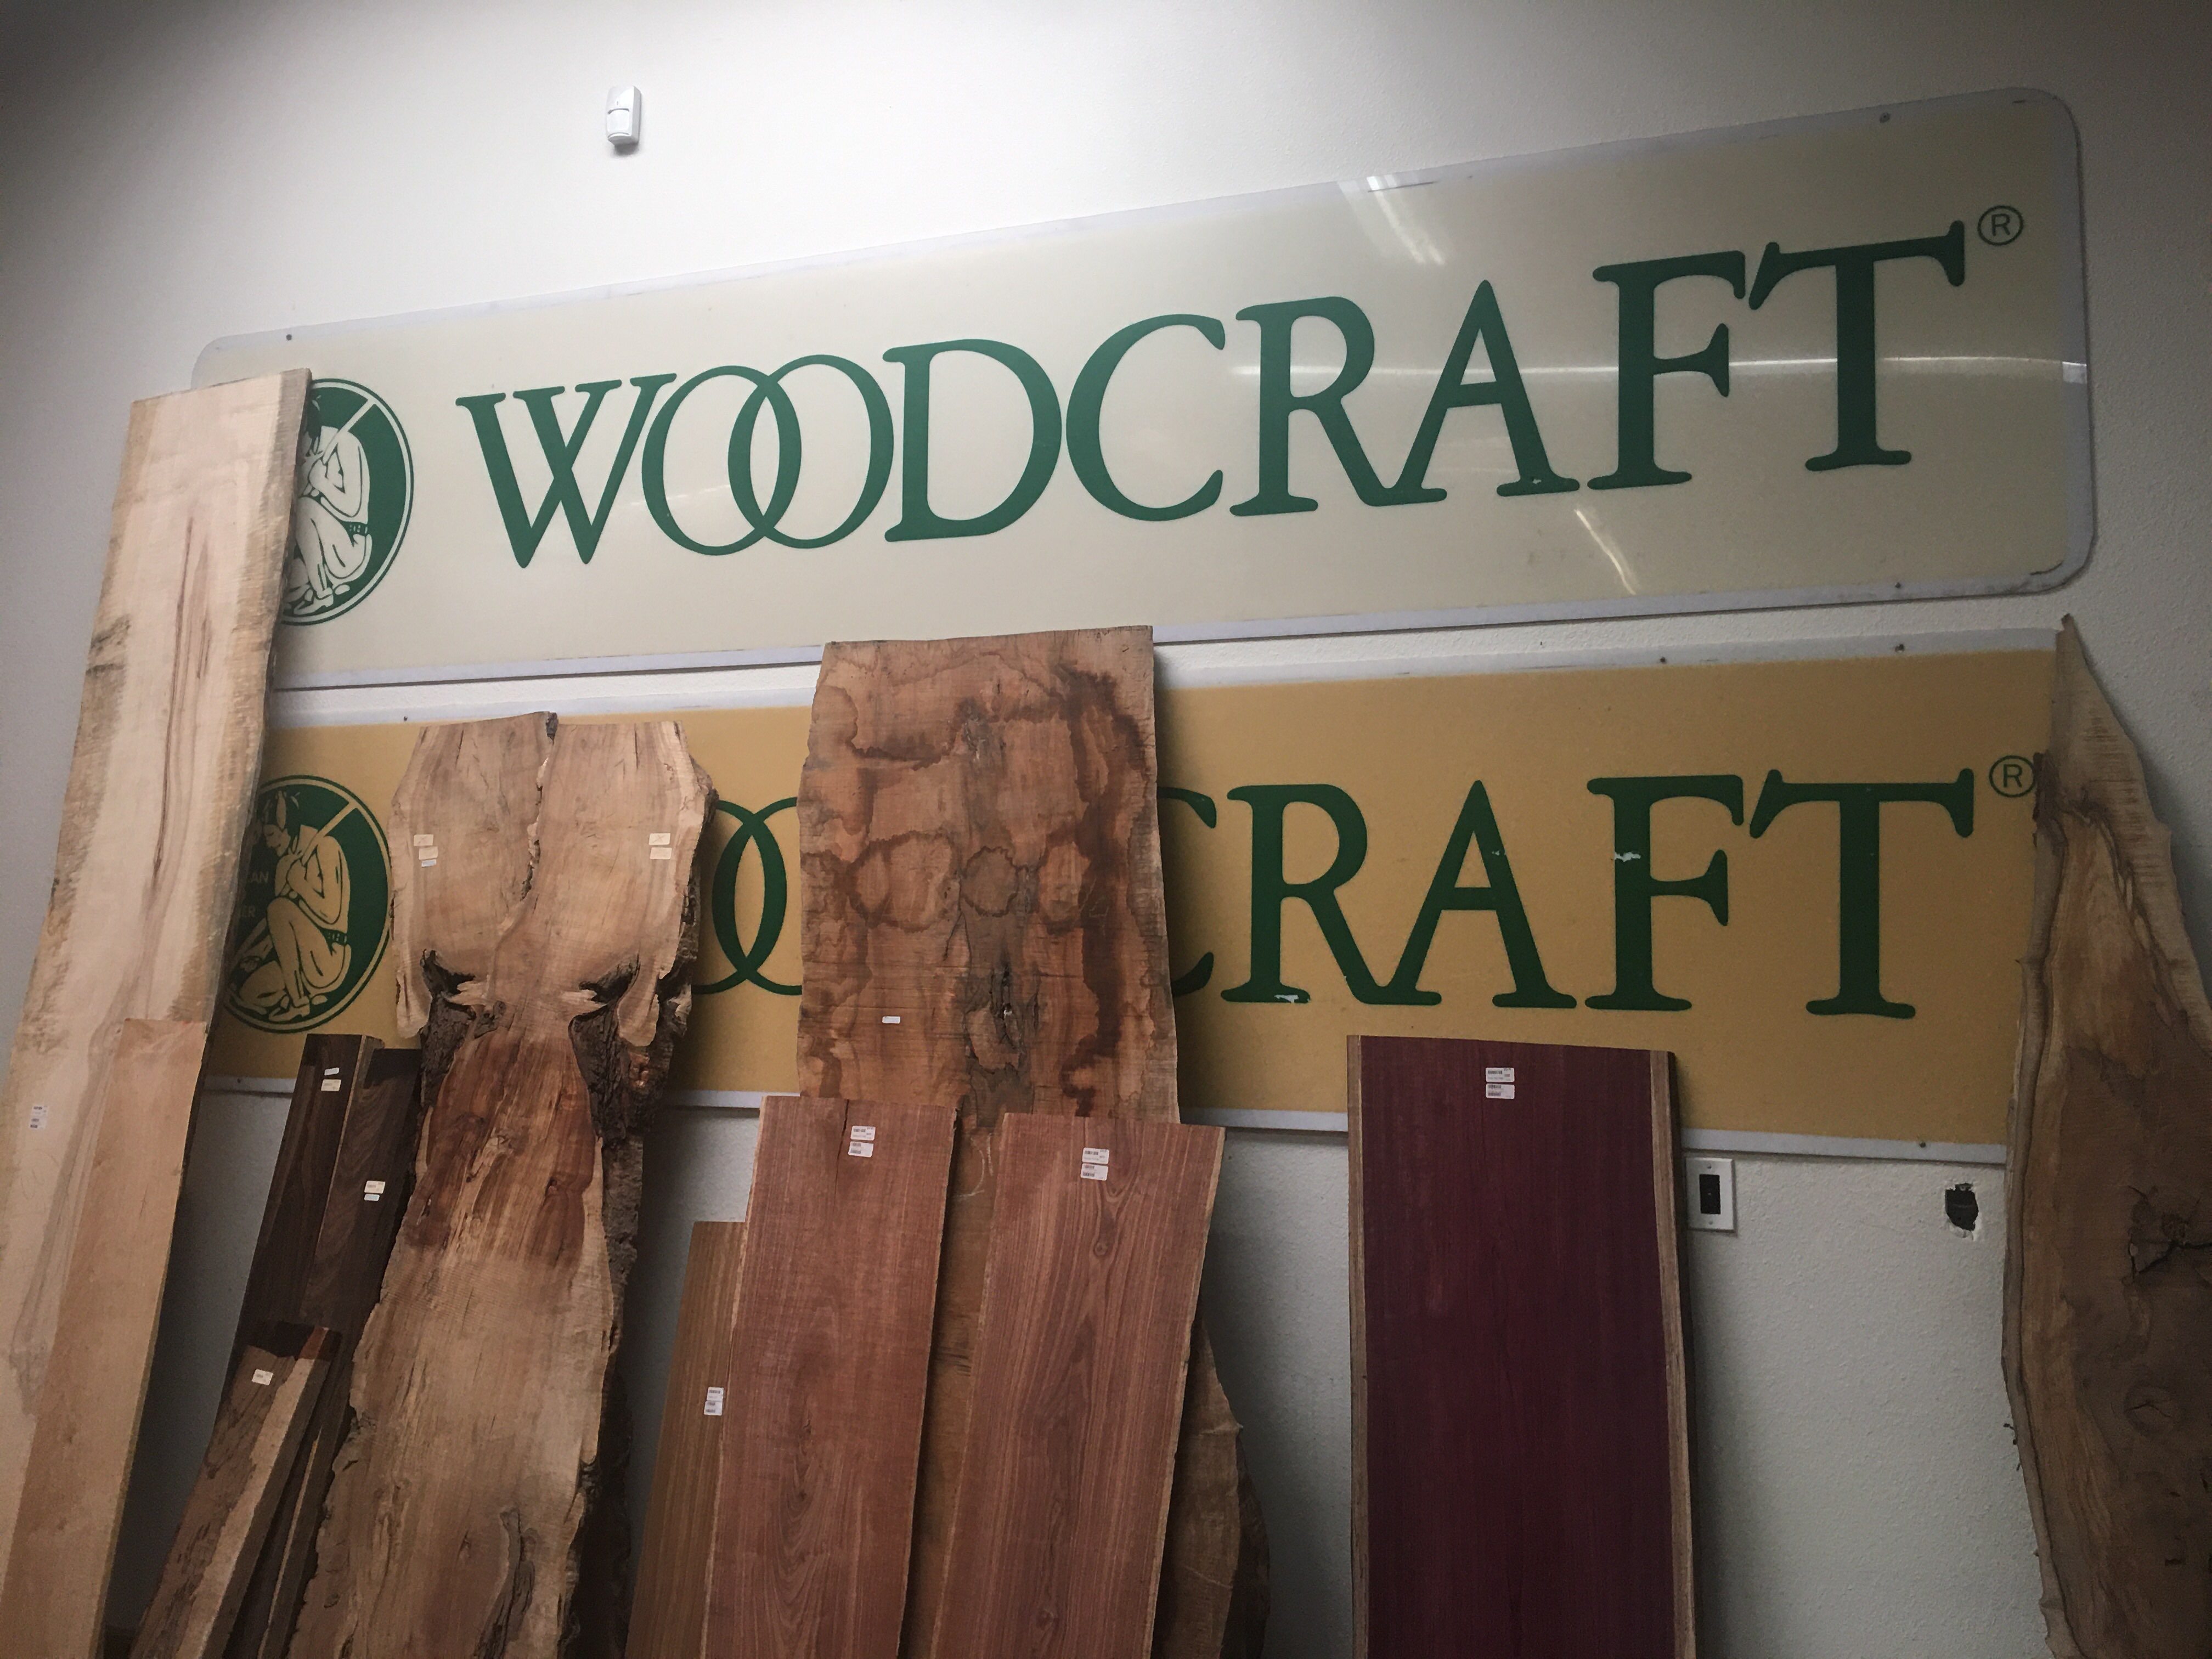
So here’s the quick rundown of the plan.
For the pot
- Grab some oak
- Cut out three equal hexagons
- Stack the hexagons
- Cut a hole into the top two
- Tack some hide or drumskin over the hole
For the rest
- Grab a 4x4x36 of cherry, walnut, or maple
- Use most to shape out the neck
- Use the rest to whittle the bridge, tailpiece, and tuning pegs.
Obviously there is going to be a lot more to it [you don’t say] but I think it’s a good jumping off point to get feet wet [I always feel the hardest part of a project is just getting started].
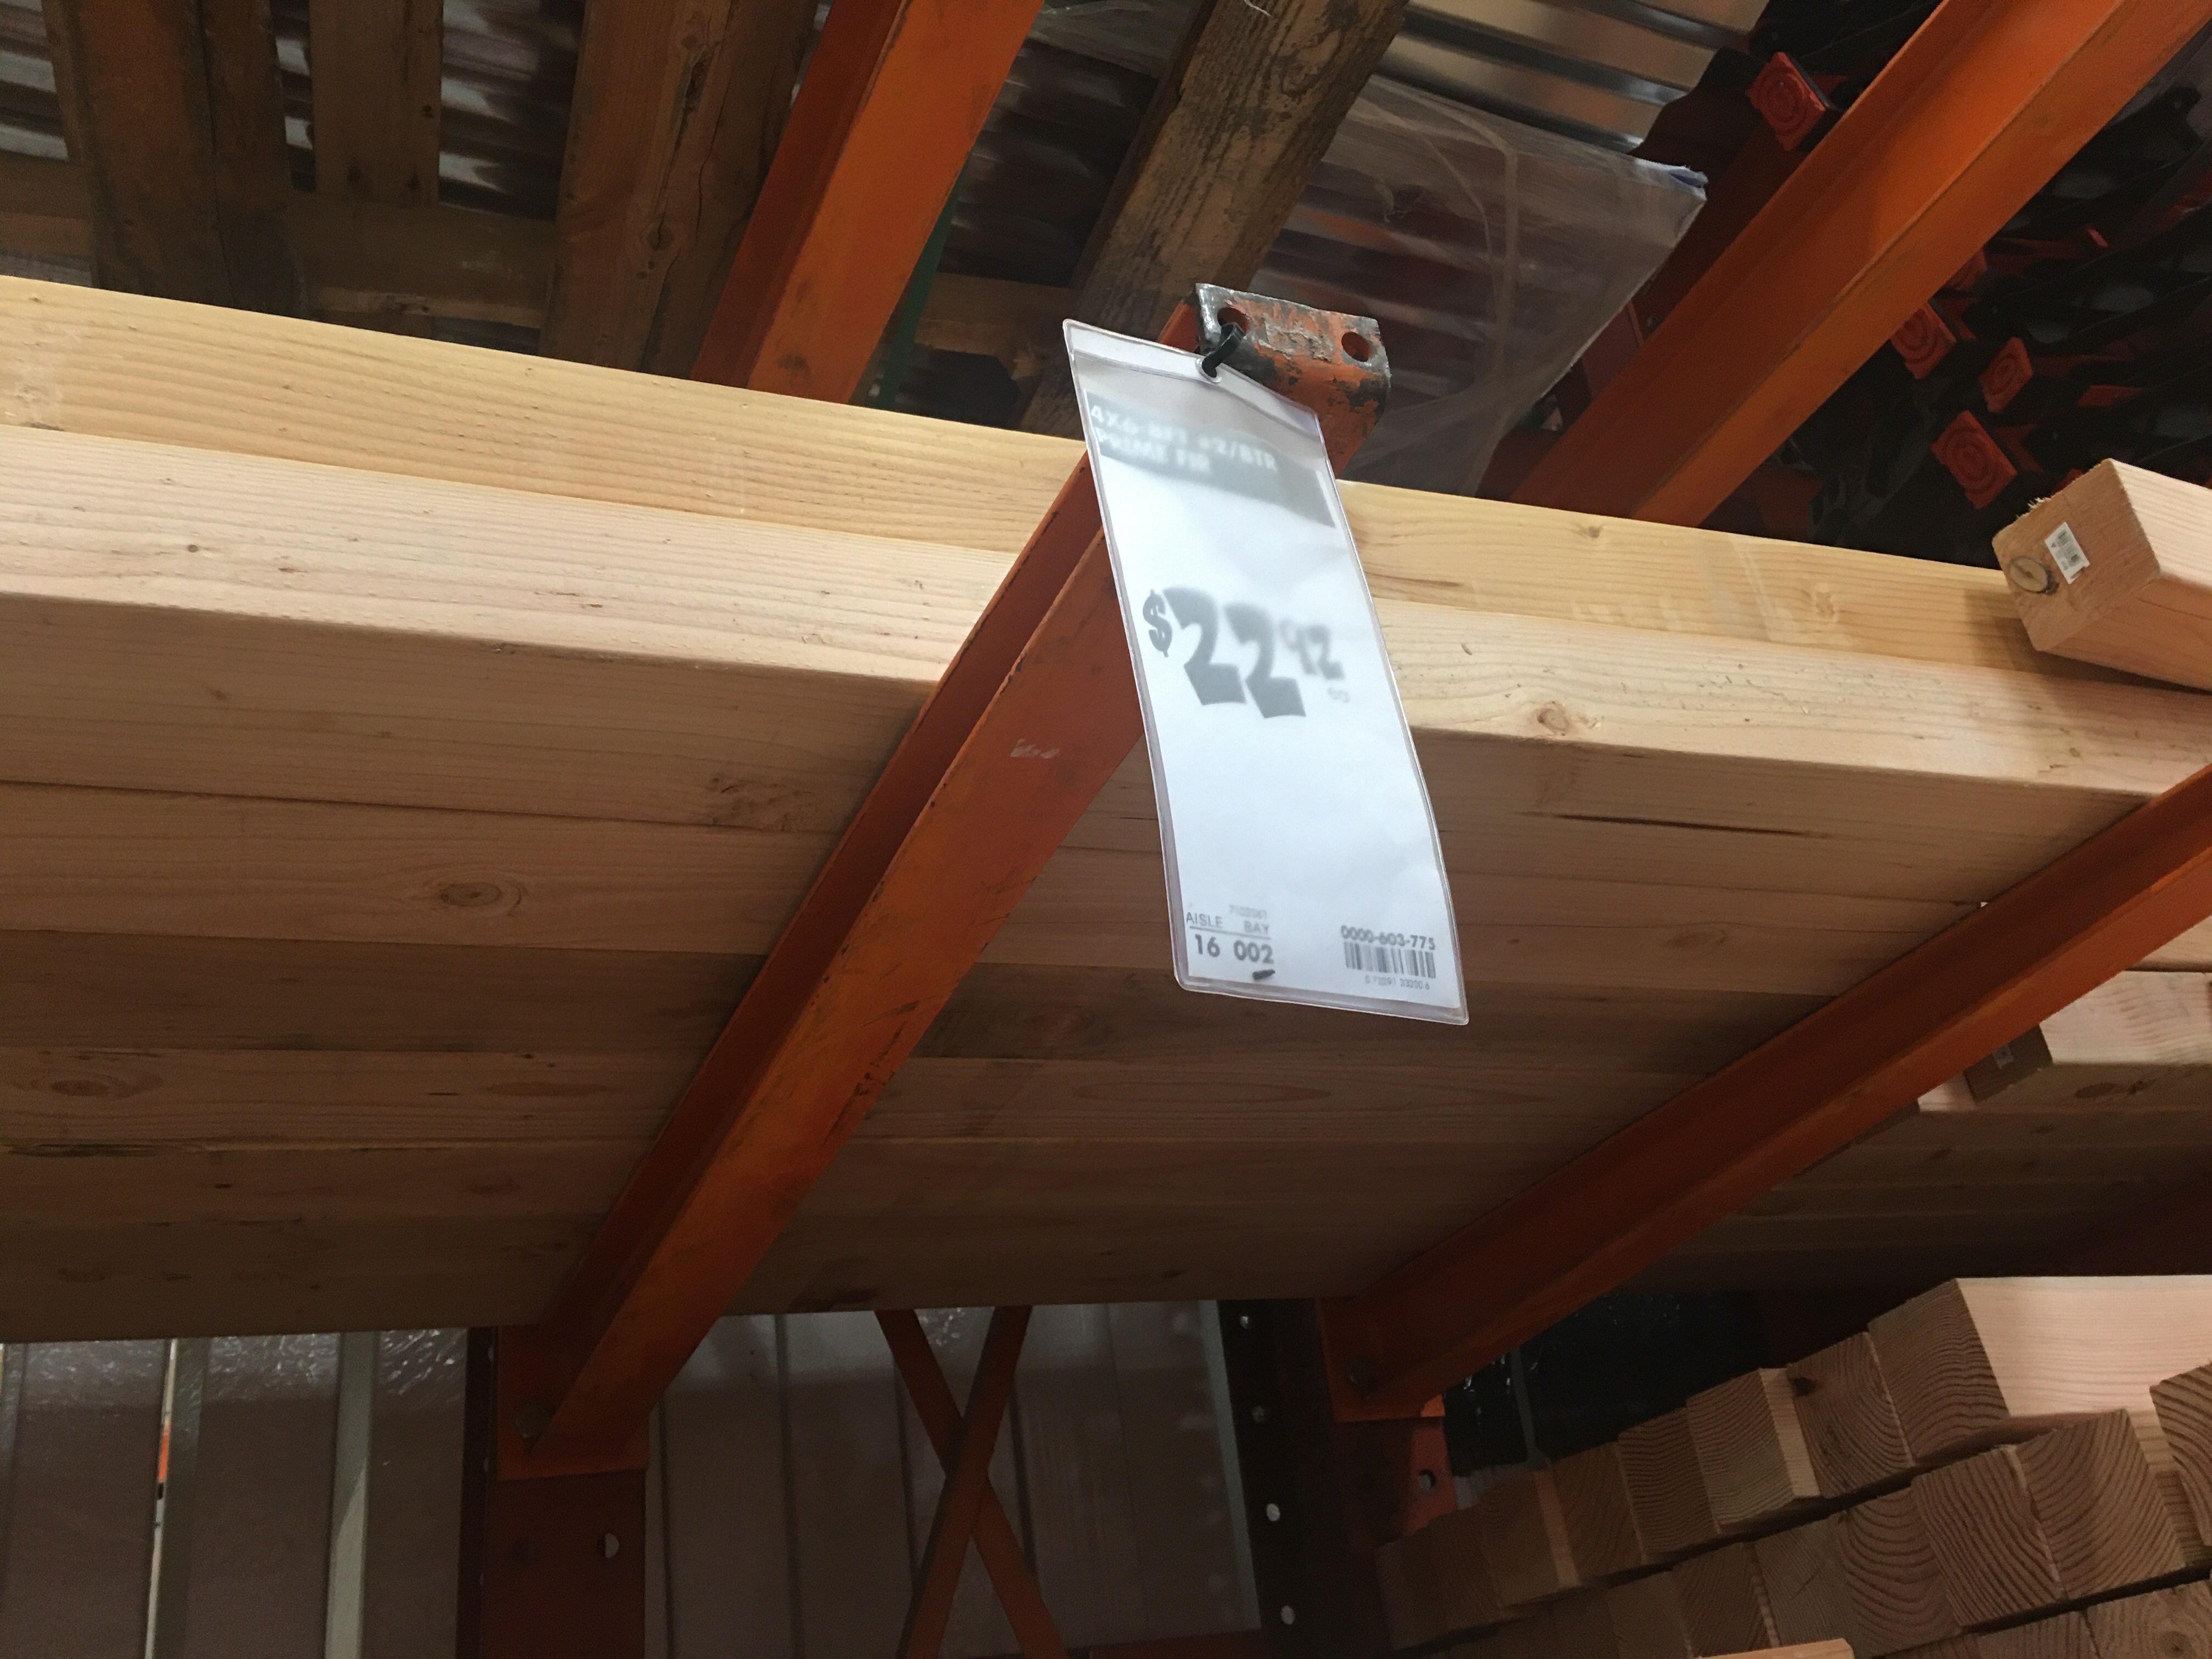
We did end up going out and looking at our local wood selection and found it did not have any of the wood that we were looking for [or they did, but just not in a size that would work], so it looks like actually finding a good wood supplier might be a bit harder than I expected [I am ashamed to say that I thought I could find usable stock at a Home Depot. DON’T LAUGH!!!].
Another revelation was just how EXPENSIVE all the available hardwood is [now I see why instruments are so expensive]. So in order to try and mitigate any unfortunate mistakes on the VERY EXPENSIVE hardwood, I decided that it might make sense to try and prototype some cuts with a much [MUCH] cheaper wood like pine or poplar.
Welp! That’s pretty much all I got for now. Next things in the pipeline is to just get the wood and start chopping. I’ll keep you posted on how it goes!