Top_of_the_Stack
Tots Posts
In_the_Pipeline
2023-03-30 - Other - Projects
I am in the process of moving so things are a bit chaotic at the moment. This, however, does not mean that things aren’t on the stack to post about. In fact, this move will actually increase the amount of projects I can work on [as if i didn’t have a hard enough time following through as it is]. Here is a quick rundown.
We are in the process of building a shed which will be the dedicated Xavi’s Hobbies project space [keeps all the fires out of the house]. Right now we are still in the process of putting in the insulation and dry wall [gotta make it cozy you know] but once the dry wall is in, we are going to paint them, seal the floors, set up the storage shelves and workbench, and move everything in.
Once everything is put into place I have two electronics projects that I want to get to. First, I want to finish building my first PCB from scratch. I have everything I need to make the PCB, I just need the time and space to actually get it done. Second, I would like to get familiar with RF electronics using a VNA [vector network analyzer] that I just got [more toys!]. I just ordered a NanoVNA that lots of people recommended to get started in the RF world. It looks like its really hard to beat the NanoVNAs utility at the given price point. Most VNAs I’ve seen have been in the thousands to tens of thousands range where I payed $150 for this one [and according to my calculations that’s less than $10,000]. There are obviously some limitations with the NanoVNA that the others might not have but I think it’ll be more than enough for my purposes [at least for now].
In other news, the banjo build is still in the works, just on a brief hiatus [sure it is] as we get settled. We might head down to a gourd patch just to check out if we can make a gourd banjo after the Kentucky style one [maybe even pick up some seeds to see if we can grow our own].
I also have some cooking recipes that I have made [and actually took pictures this time] that I would like to post pretty soon.
And finally, we have also gotten back into some TTRPGs [table top role playing games, like D&D] that I might post about. I was thinking about adding things about our simple terrain builds and the session prep I do as a DM [dungeon master]. I might even get some players to post a dungeon journal if the would like.
Welp, there’s the things that are on the stack [at least as far down as I am able to see].
Babysteps_into_KiCAD
2023-03-16 - PCB Fabrication - KiCAD
There is a saying that there is no more permanent solution than a temporary one. That couldn’t be more true than when looking at my electronics projects. They are always some half baked idea that makes it’s way onto a breadboard which, if I liked it enough, possibly gets put onto protoboard [if its lucky]. However nothing has ever quite made it to being put on it’s own PCB [printed circuit board. you know. the green boards that you find inside stuff. like this ]. I have tinkered around a bit with designing one in the past, but it never was able to graduate from living on my harddrive. This week I took some steps to change that.
I spent a good amount of time this week getting a lot more familiar with KiCAD, an electronics design suite, doing quite a bit of research into fabricating a board in house [or in shed in my case], and ordering everything that I needed to get started.
If you would assume that most PCBs aren’t made in some guy’s garage, you’d be right [at least i hope not], most would be made in some fabrication facility that pump out tons of product in giant pallets [well, maybe not in the last three years]. Even hobbyists, like myself, can outsource a design to a board house for fabrication and I think most people would argue that this would be the way to go. Board houses have pretty quick turn around time [one to two weeks] and you get a really professional looking board. However, I am both sloppy and impatient meaning that A. there’s a chance I made a mistake on the design which means it won’t work after a two week wait or B. even if it does work, there’s a huge chance I forgot why I made the thing in the first place. Finding a workflow to make them in house would mitigate both these problems and if I end up with something I really like I can send it to a board house after I go through finding all the bugs [well… maybe just the bugs that make the thing not work at all].
The plan is to design something simple and use the toner transfer method to get the design onto a copper clad board. I’ll go into the whole process in a later post but seeing that I am already a day late I’ll throw this up and write up the outline for Monday’s post [we’ll see if I don’t get distracted].
Making_the_Pot
2023-03-13 - Banjo - Building
What I’ve noticed about banjos, at least more than I have with other instruments, is the shear amount of differences in shape, size, and sound [there is a chance that this is just bias from building this instrument and researching it a bunch] they seem to have. I think what this diversity allows me to do is create a unique looking and sounding instrument that also caters to my woodworking ability [more like lack of. good thing my dads around to fill in the gaps… or craters].
With this in mind, I do enjoy the look of a rough banjo made almost entirely of straight cuts with an exception of the head and this would fall perfectly into within my ability. We decided to take lots of inspiration from Clifton Hicks Kentucky style banjo. It looks to mostly include straight cuts but still has a unique and finished feel when completed [i believe he even mentions that it’s a good style banjo to start with].
Last week we were able to get started on the pot because we were actually able to find some oak boards at Lowes, of all places,[HA! i told you I could find hardwood at a general hardware store]. We spent a bit of time drawing out the exact shape we were going to go for and landed on an elongated hexagon that was equiangular but not equilateral. We decided this would be a good shape because it wasn’t too wide and cumbersome to hold in my lap while playing [don’t want a point to poke me in the eye when playing] but still maintained the initial vision.
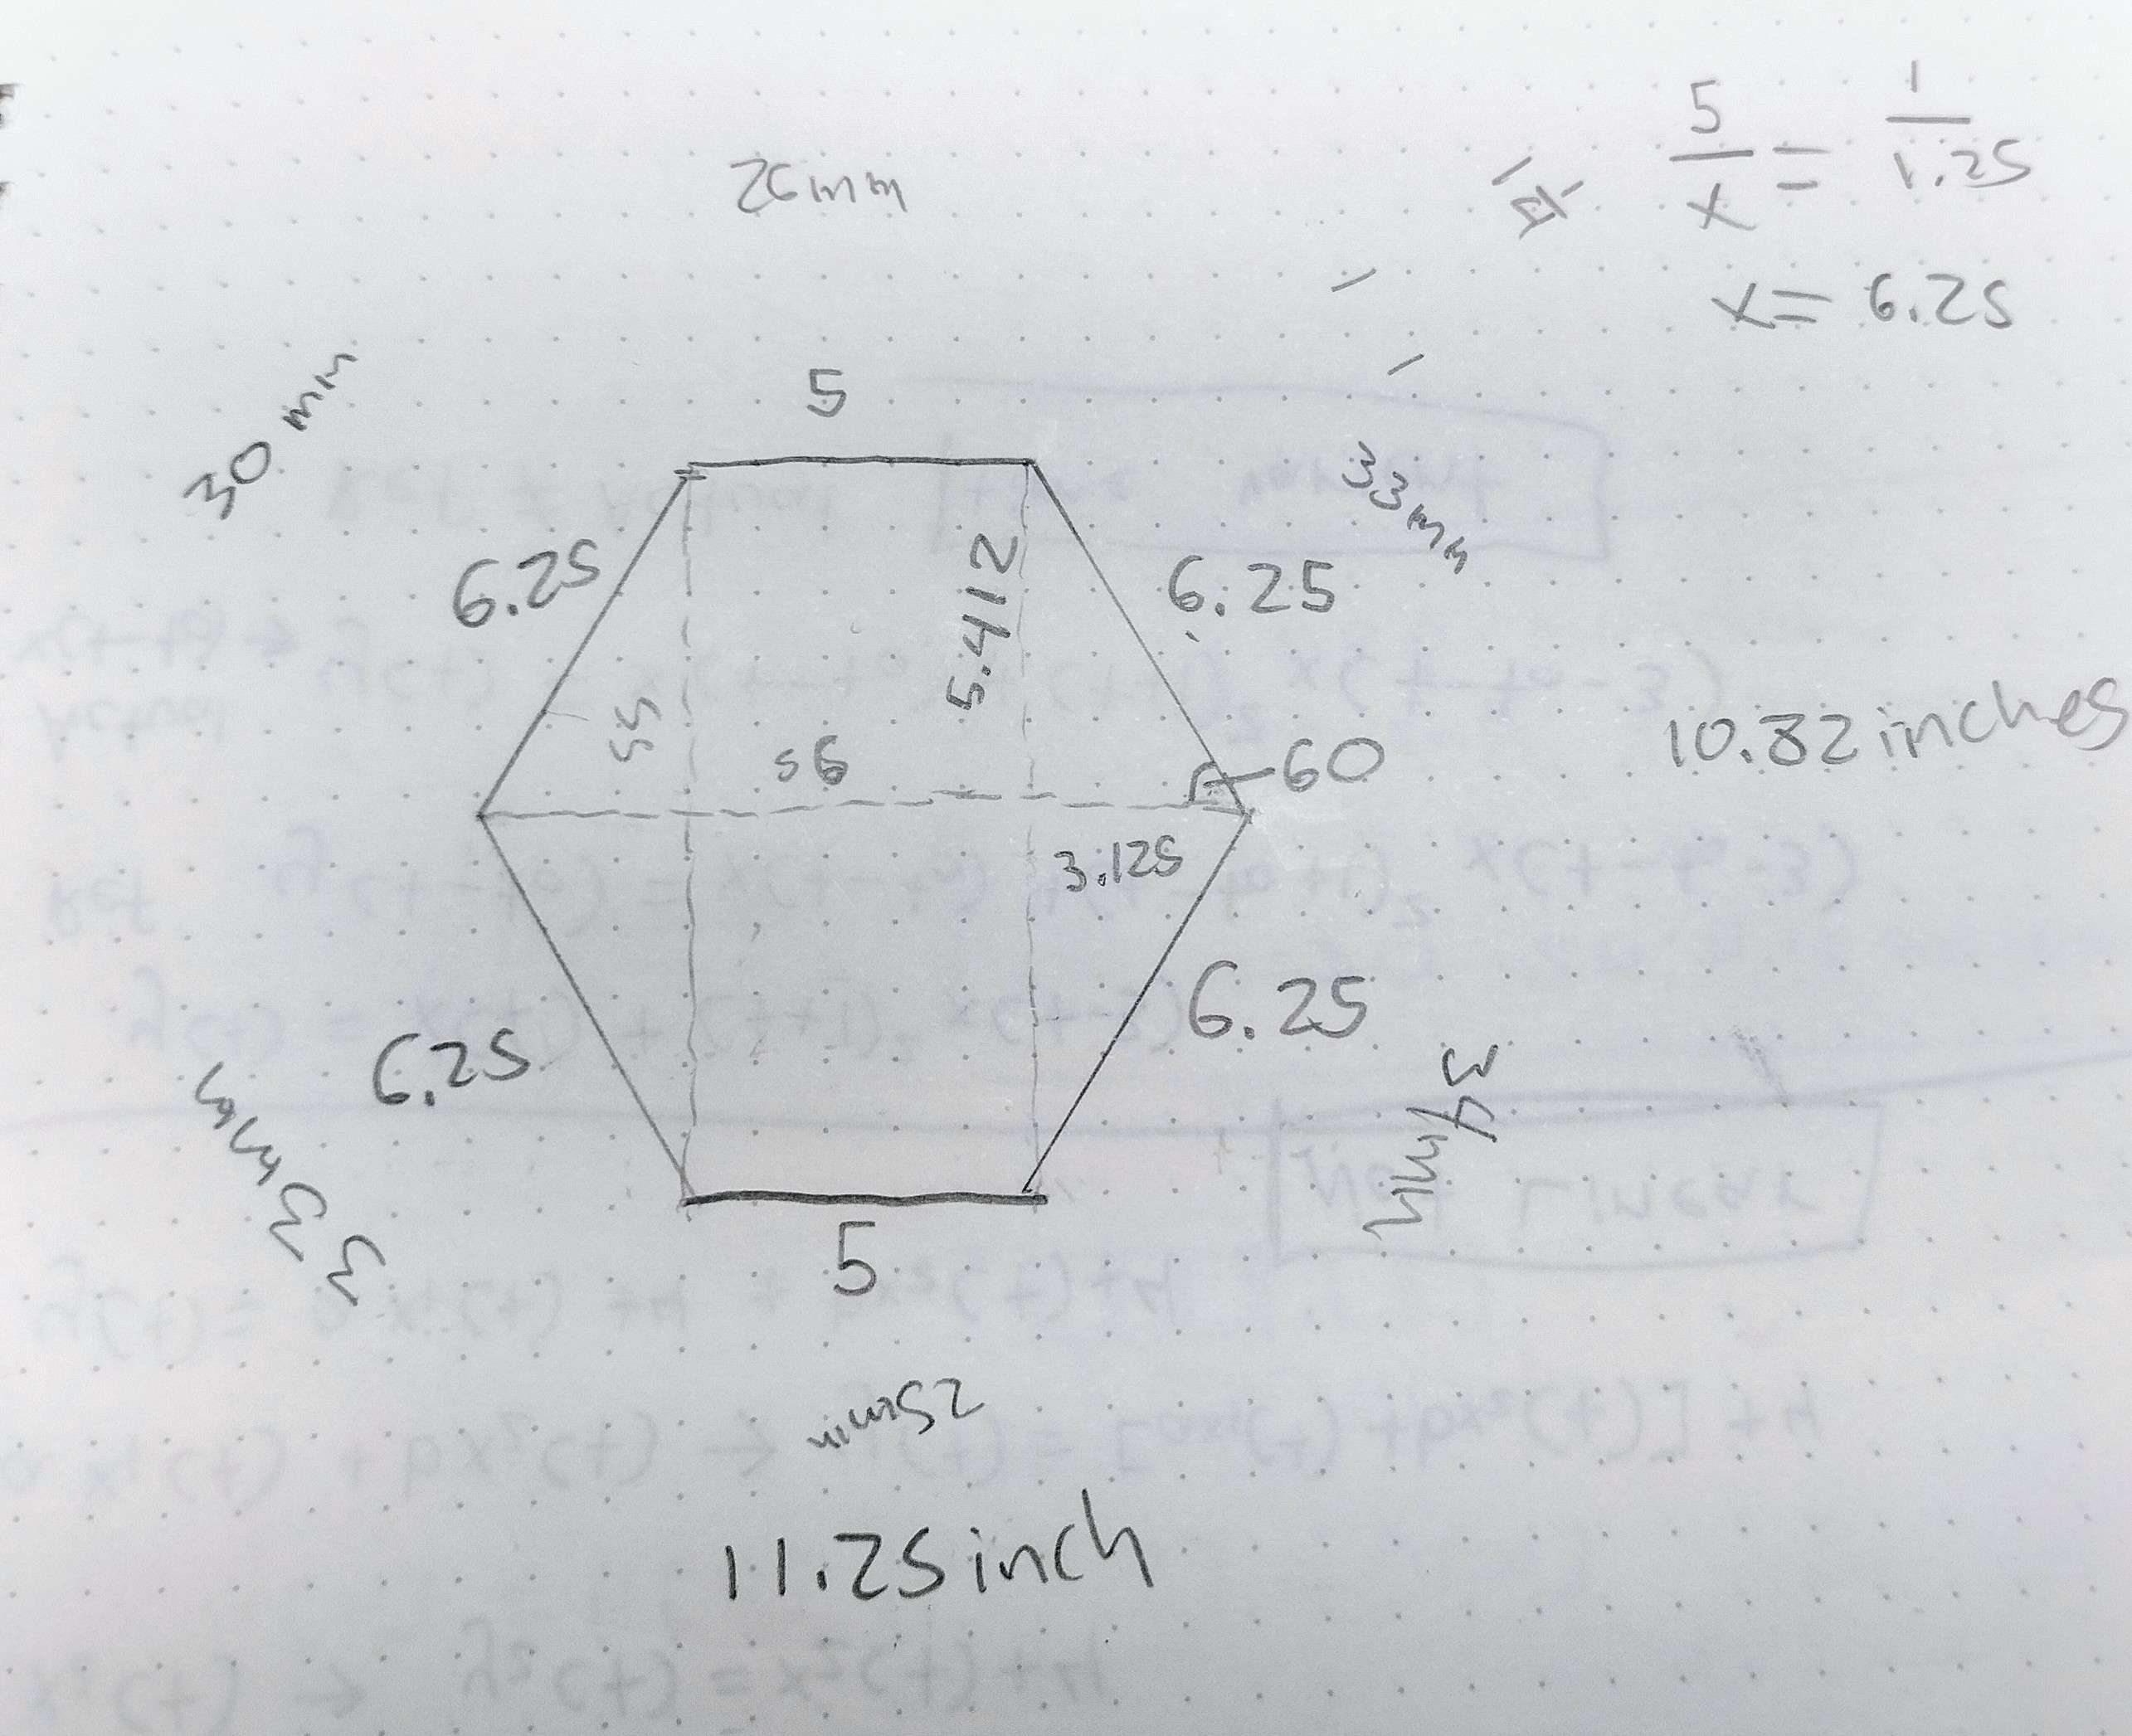
Once we got the measurements all figured out, we transferred it to scale onto a parchment paper that we laid over the oak board. This let us get a visual feel for what cuts would need to be made. We used a protractor [haven’t used one of those since high school geometry] to make sure that the angles where pretty spot on.
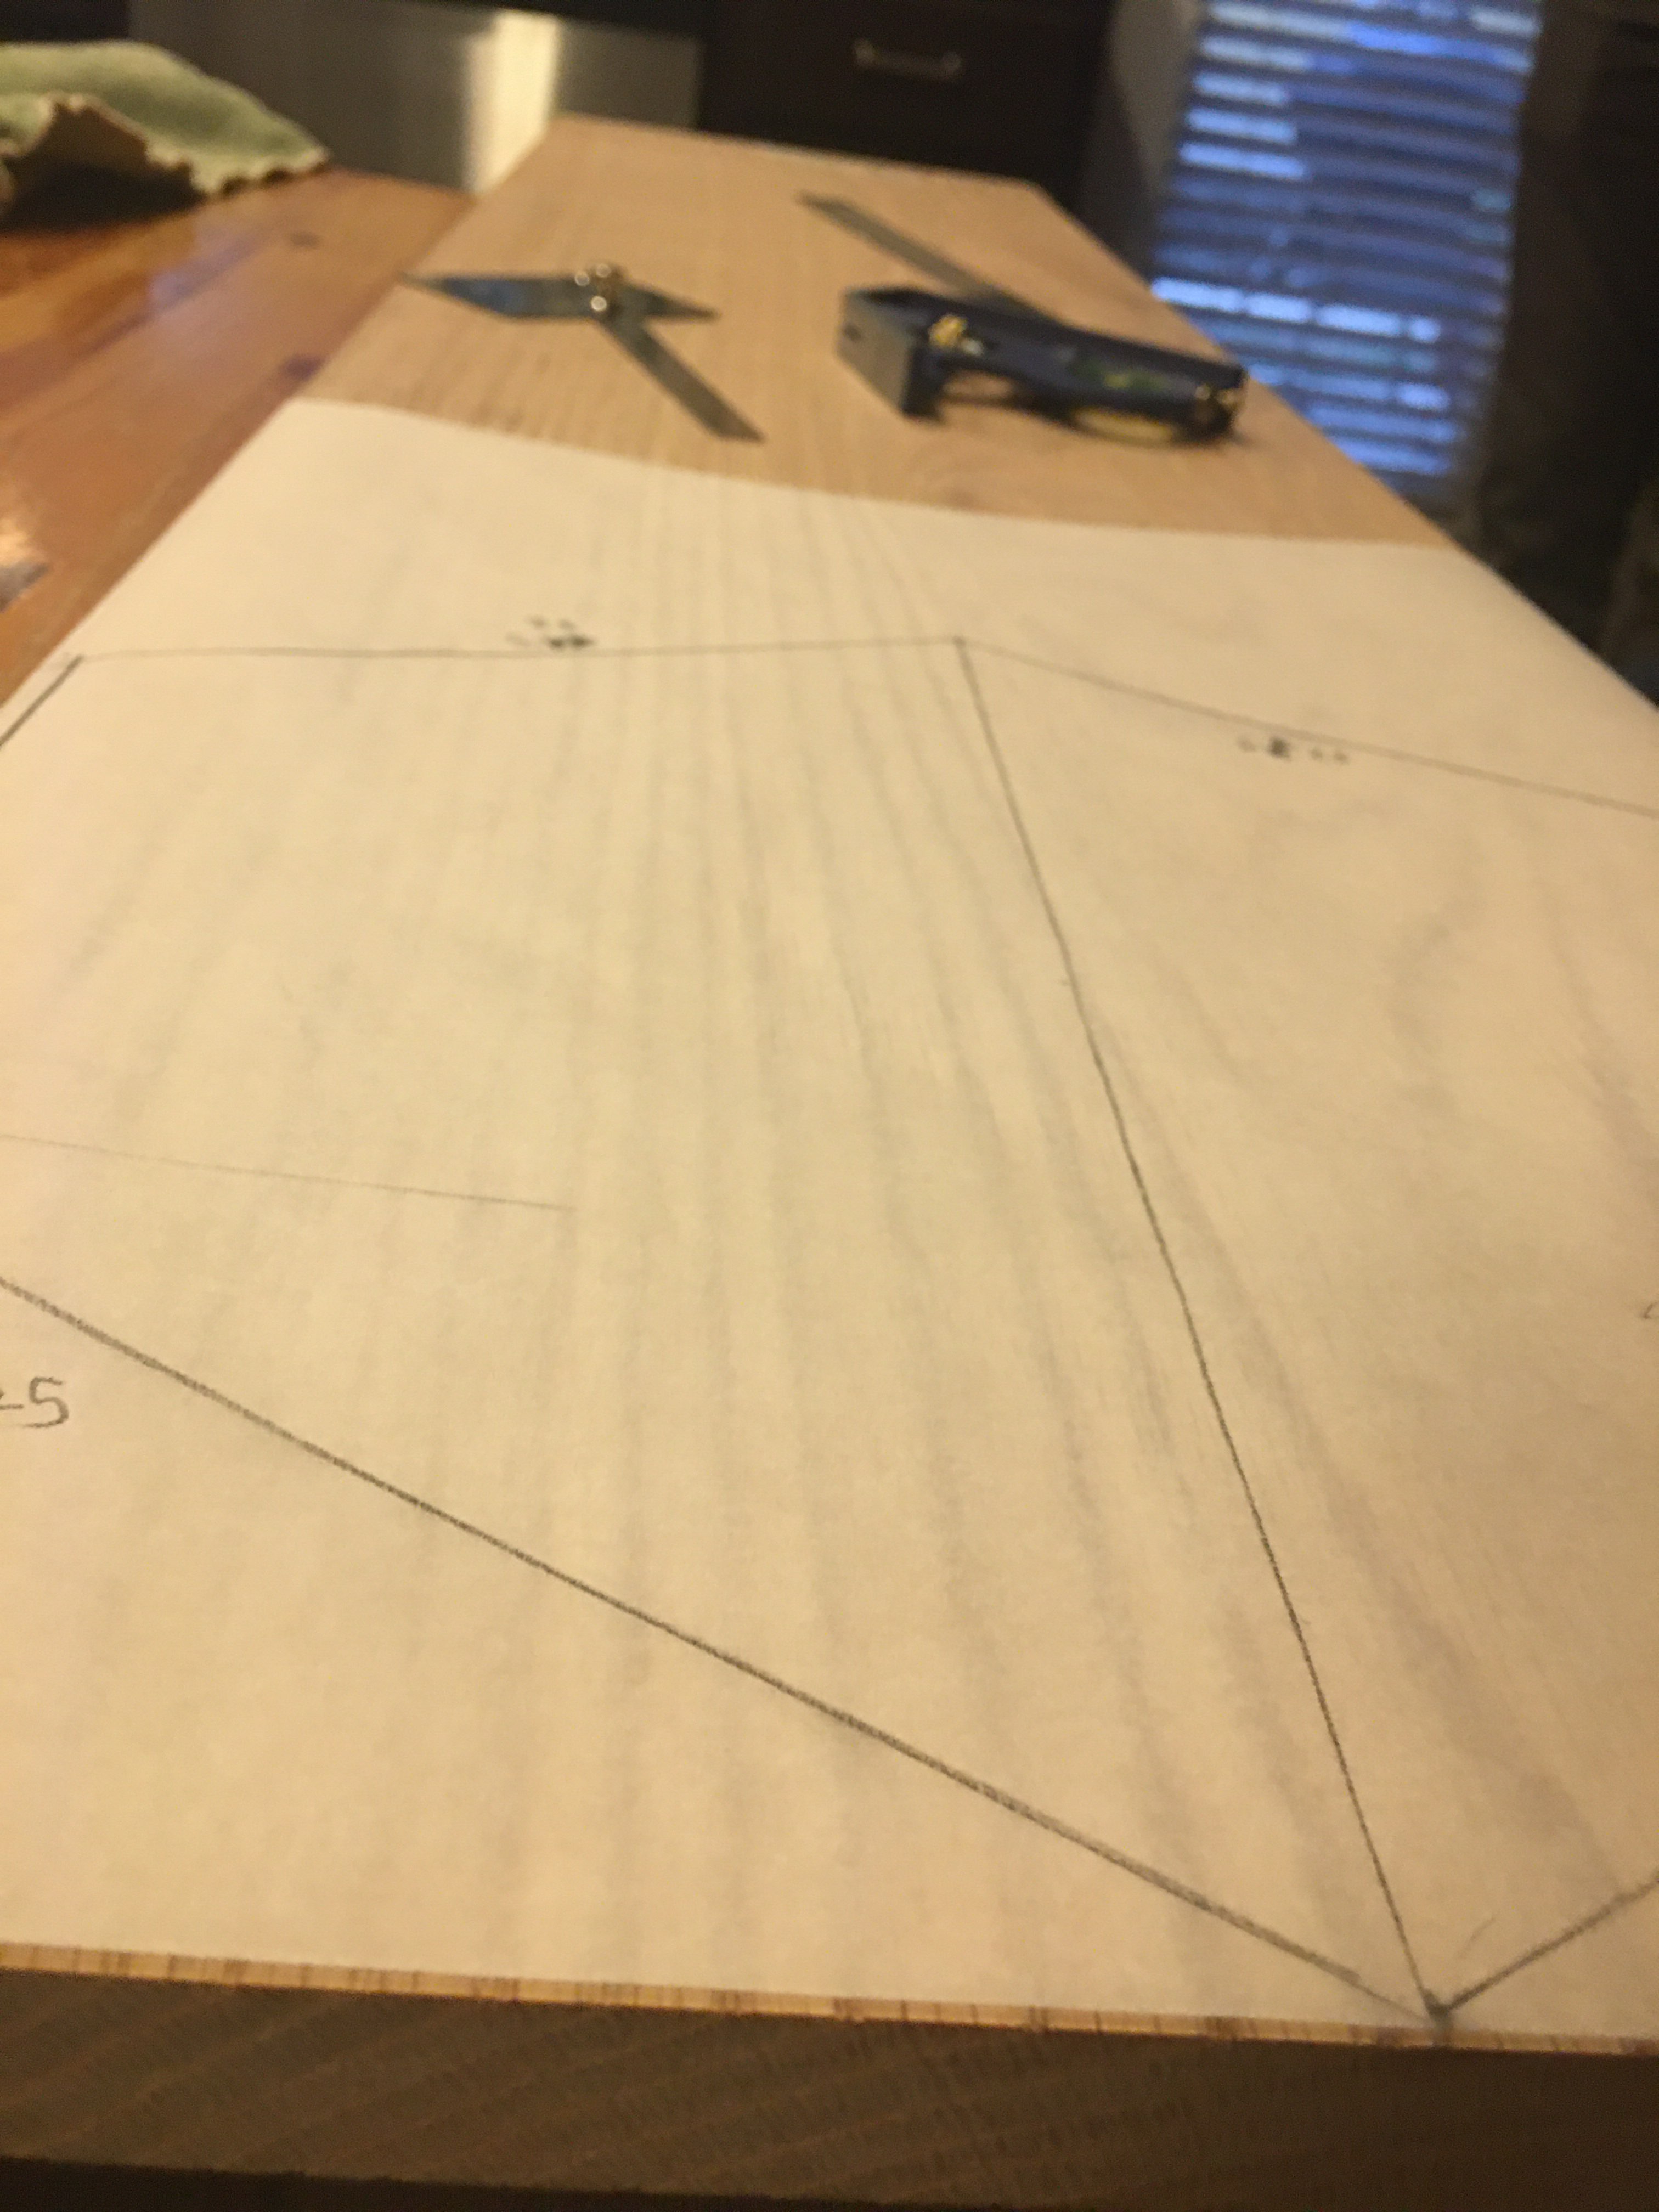
When we were happy with the parchment paper layout, we transferred it to the board with an exacto-knife by scoring the lines onto the wood. We then took it to the bench and used a C-clamp to hold it in place and a miter saw to get the nice straight cuts [well… as straight as i could get them with my wiggly arms]. A miter saw has a reinforced back-edge to reduce any bending of the blade [doesn’t help much if your a shaky human] resulting in a straighter cut.
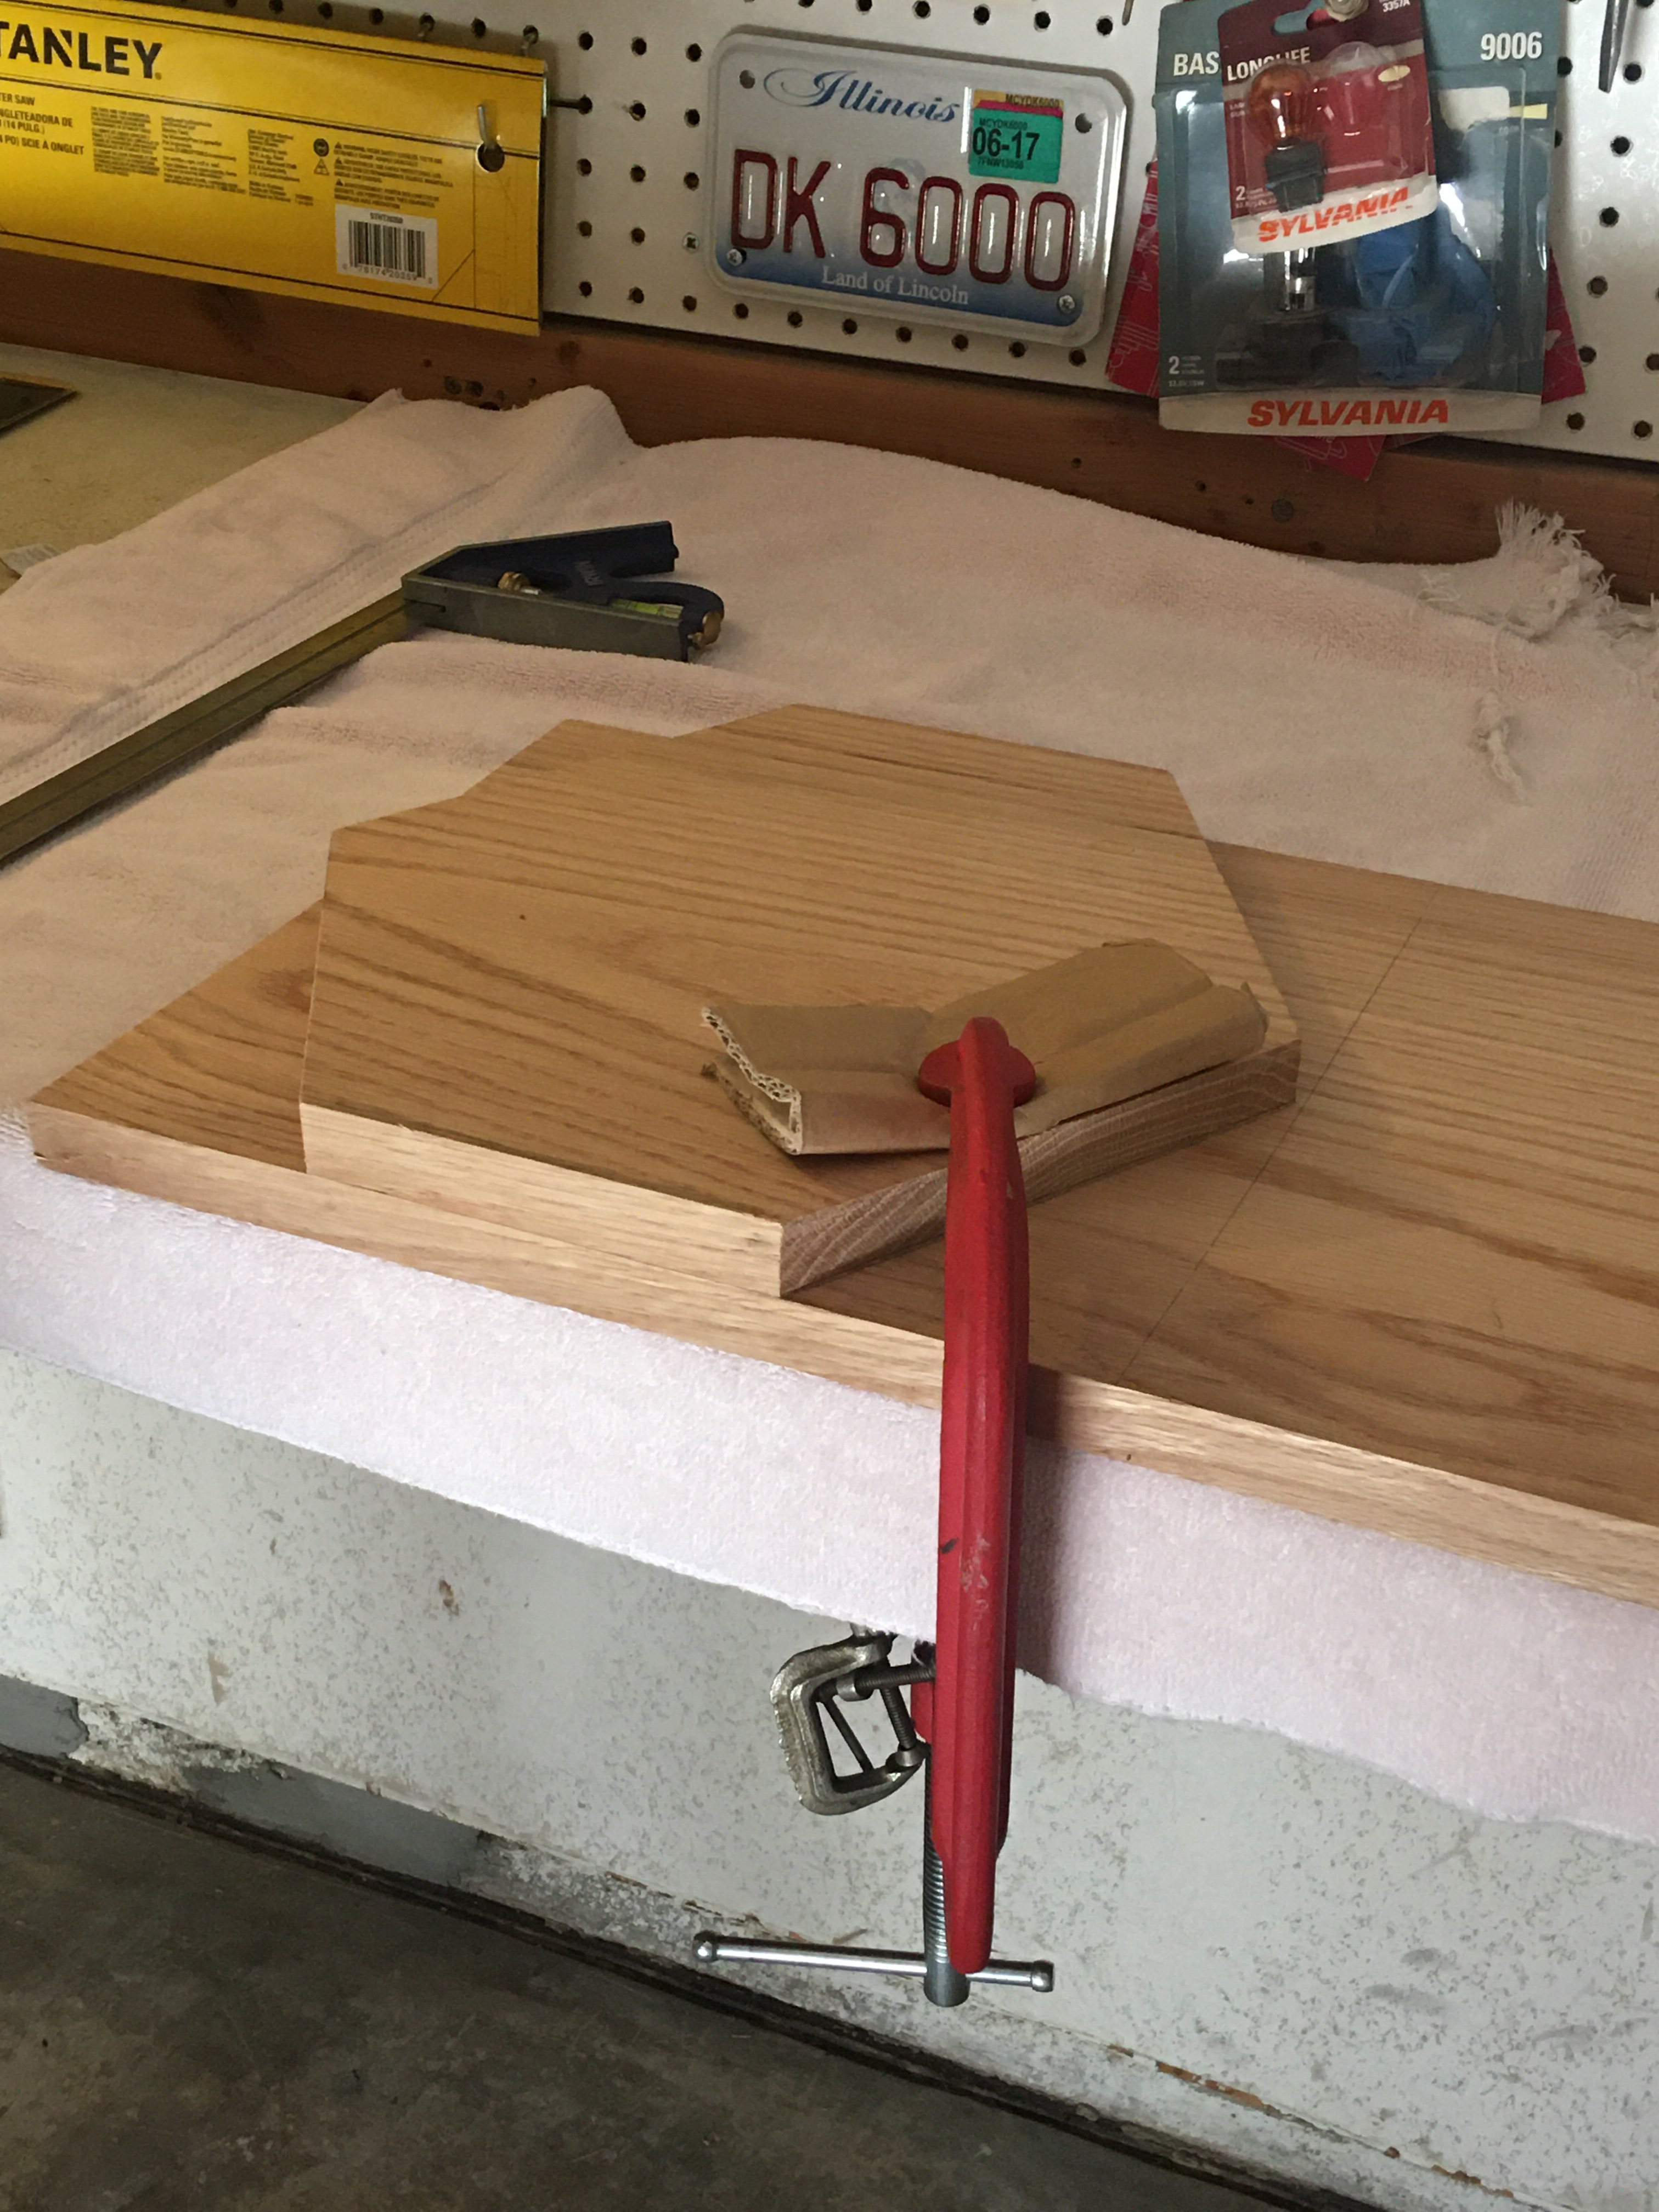
We then just placed the first completed pot layer onto the oak board and traced the outline twice more. What we might do differently next time is give a bit more space between each outline instead of placing them right next to each other. This is because one of the side vertices started losing its point about halfway through the board. We expect came from the straight cut of the layer next to it [you can see the straight cut i’m talking about to the right of the hexagon, drawn in pencil]. This shouldn’t be too big of an issues to work with [fingers crossed] but may be something to consider next time.
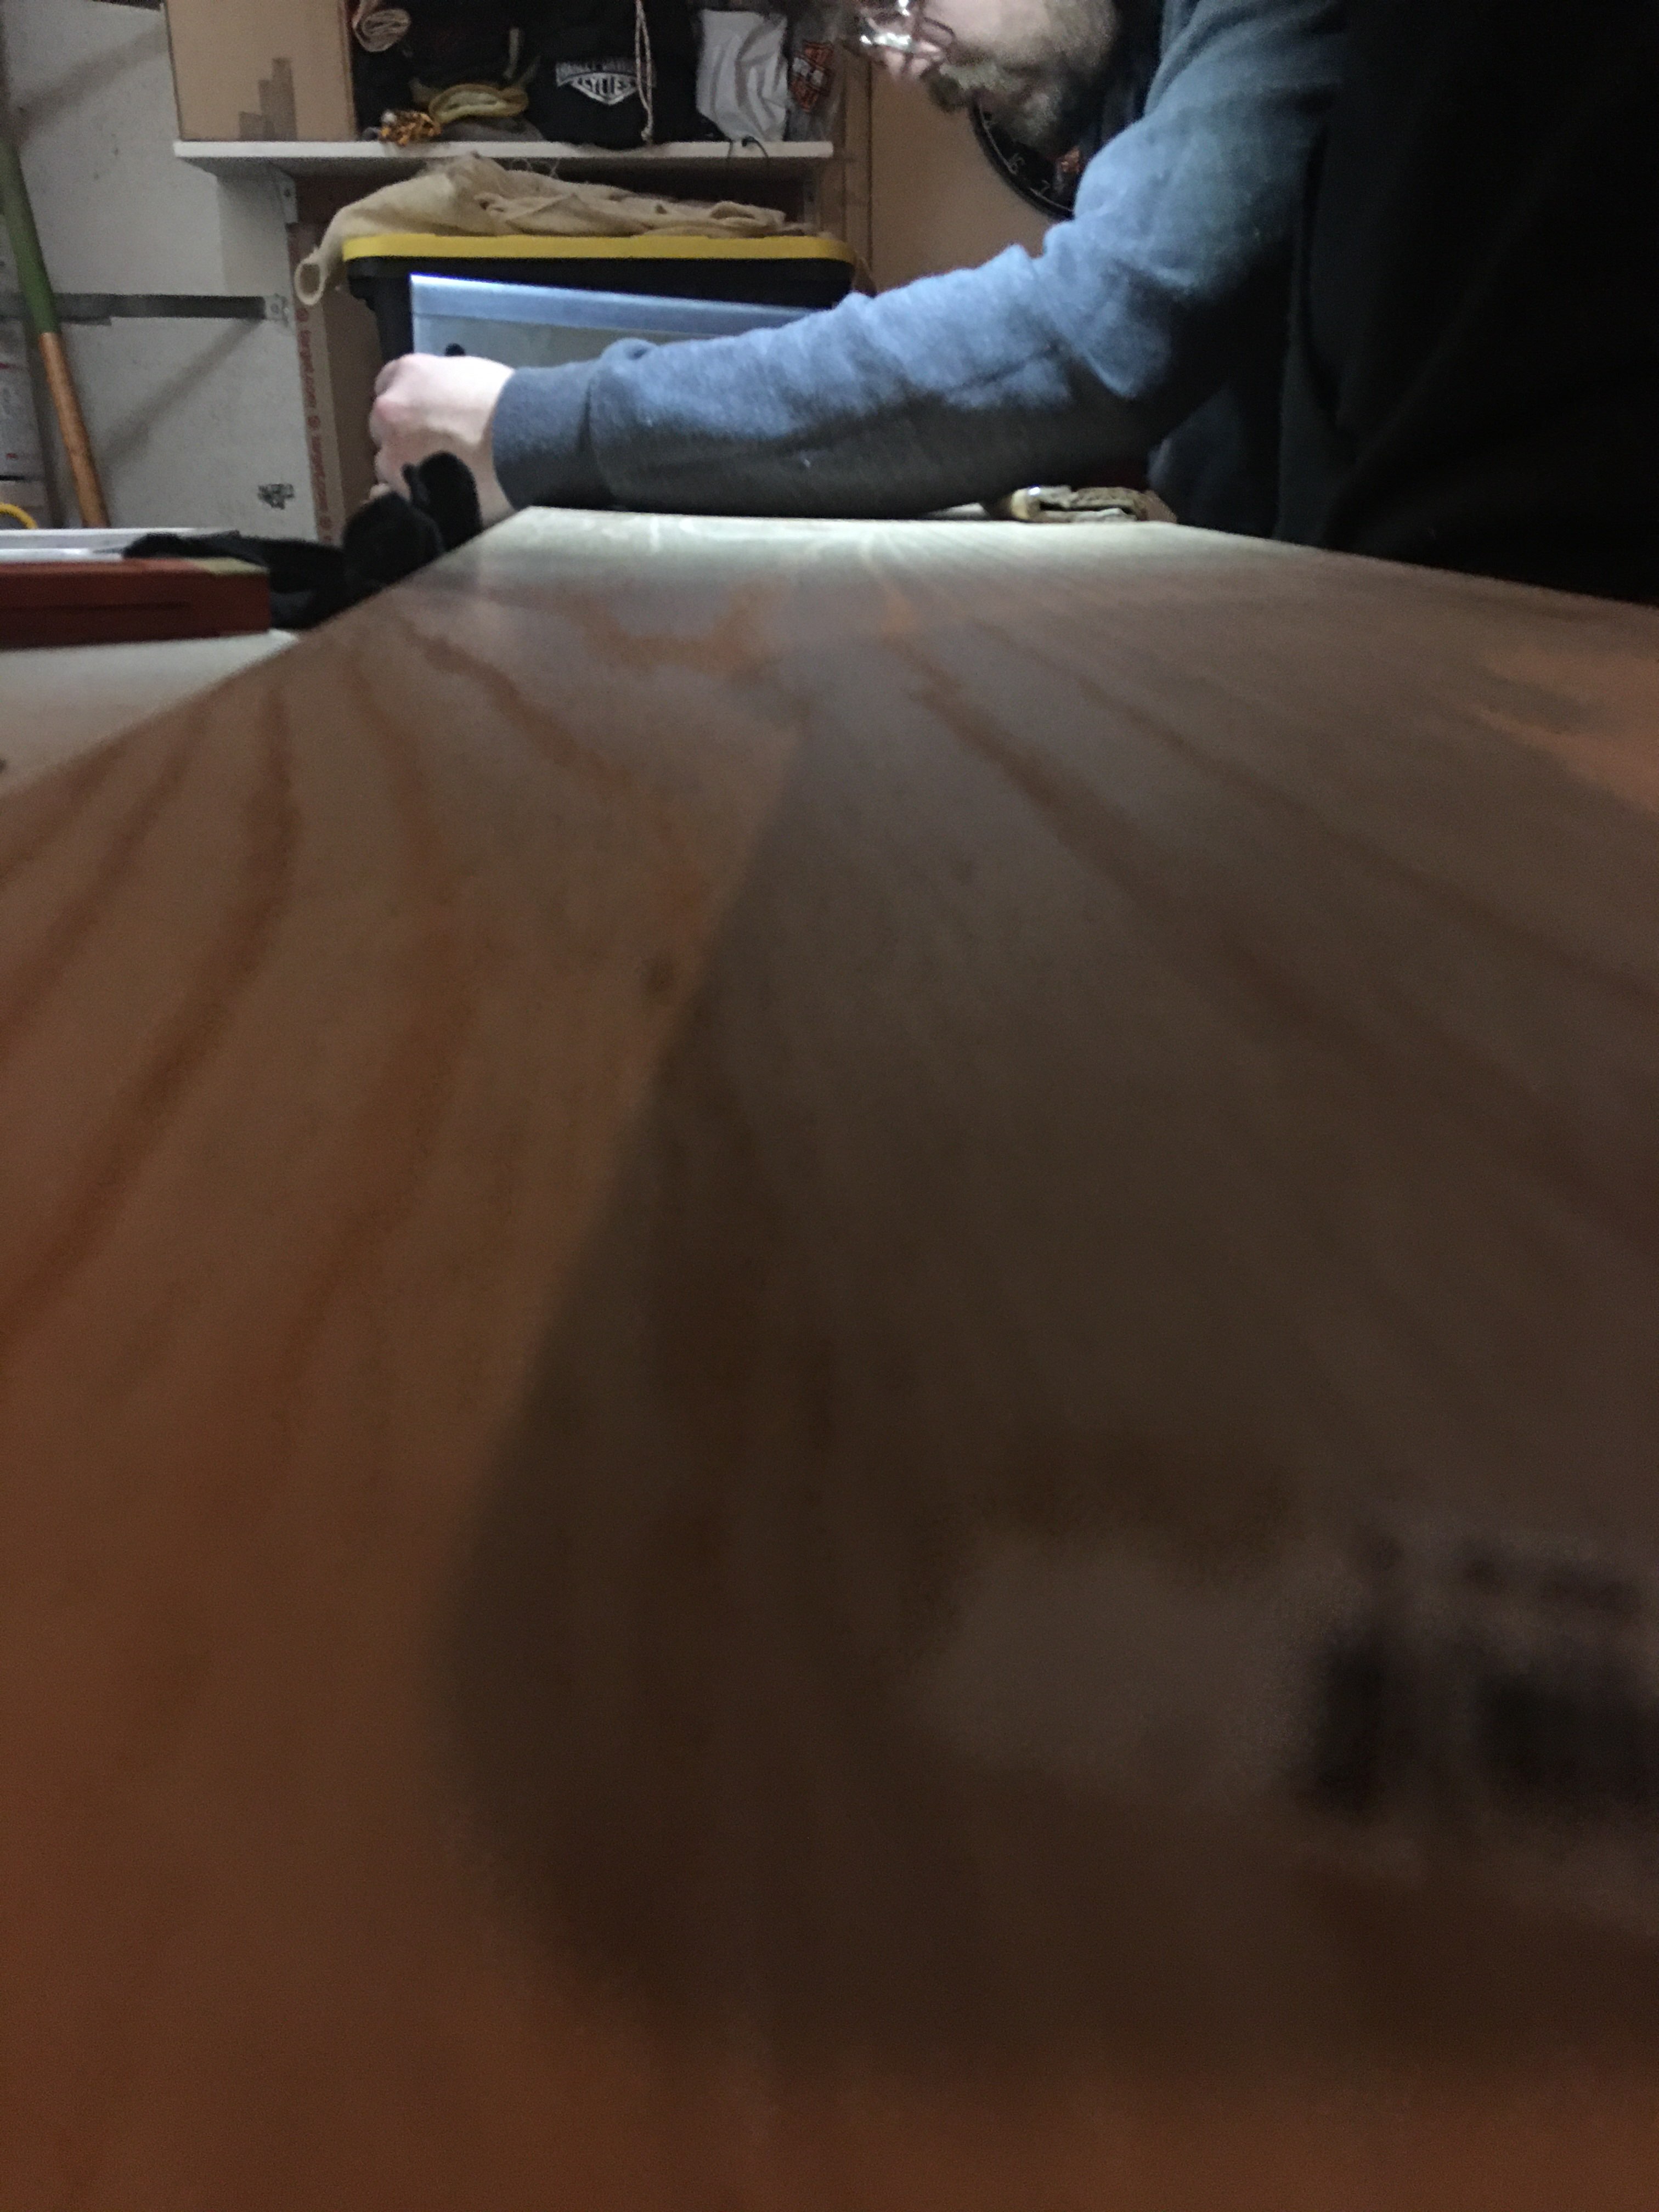
After the other two outlines were cut, we stacked all three together to see how the pot would look size and thickness-wise [those are the official terms].
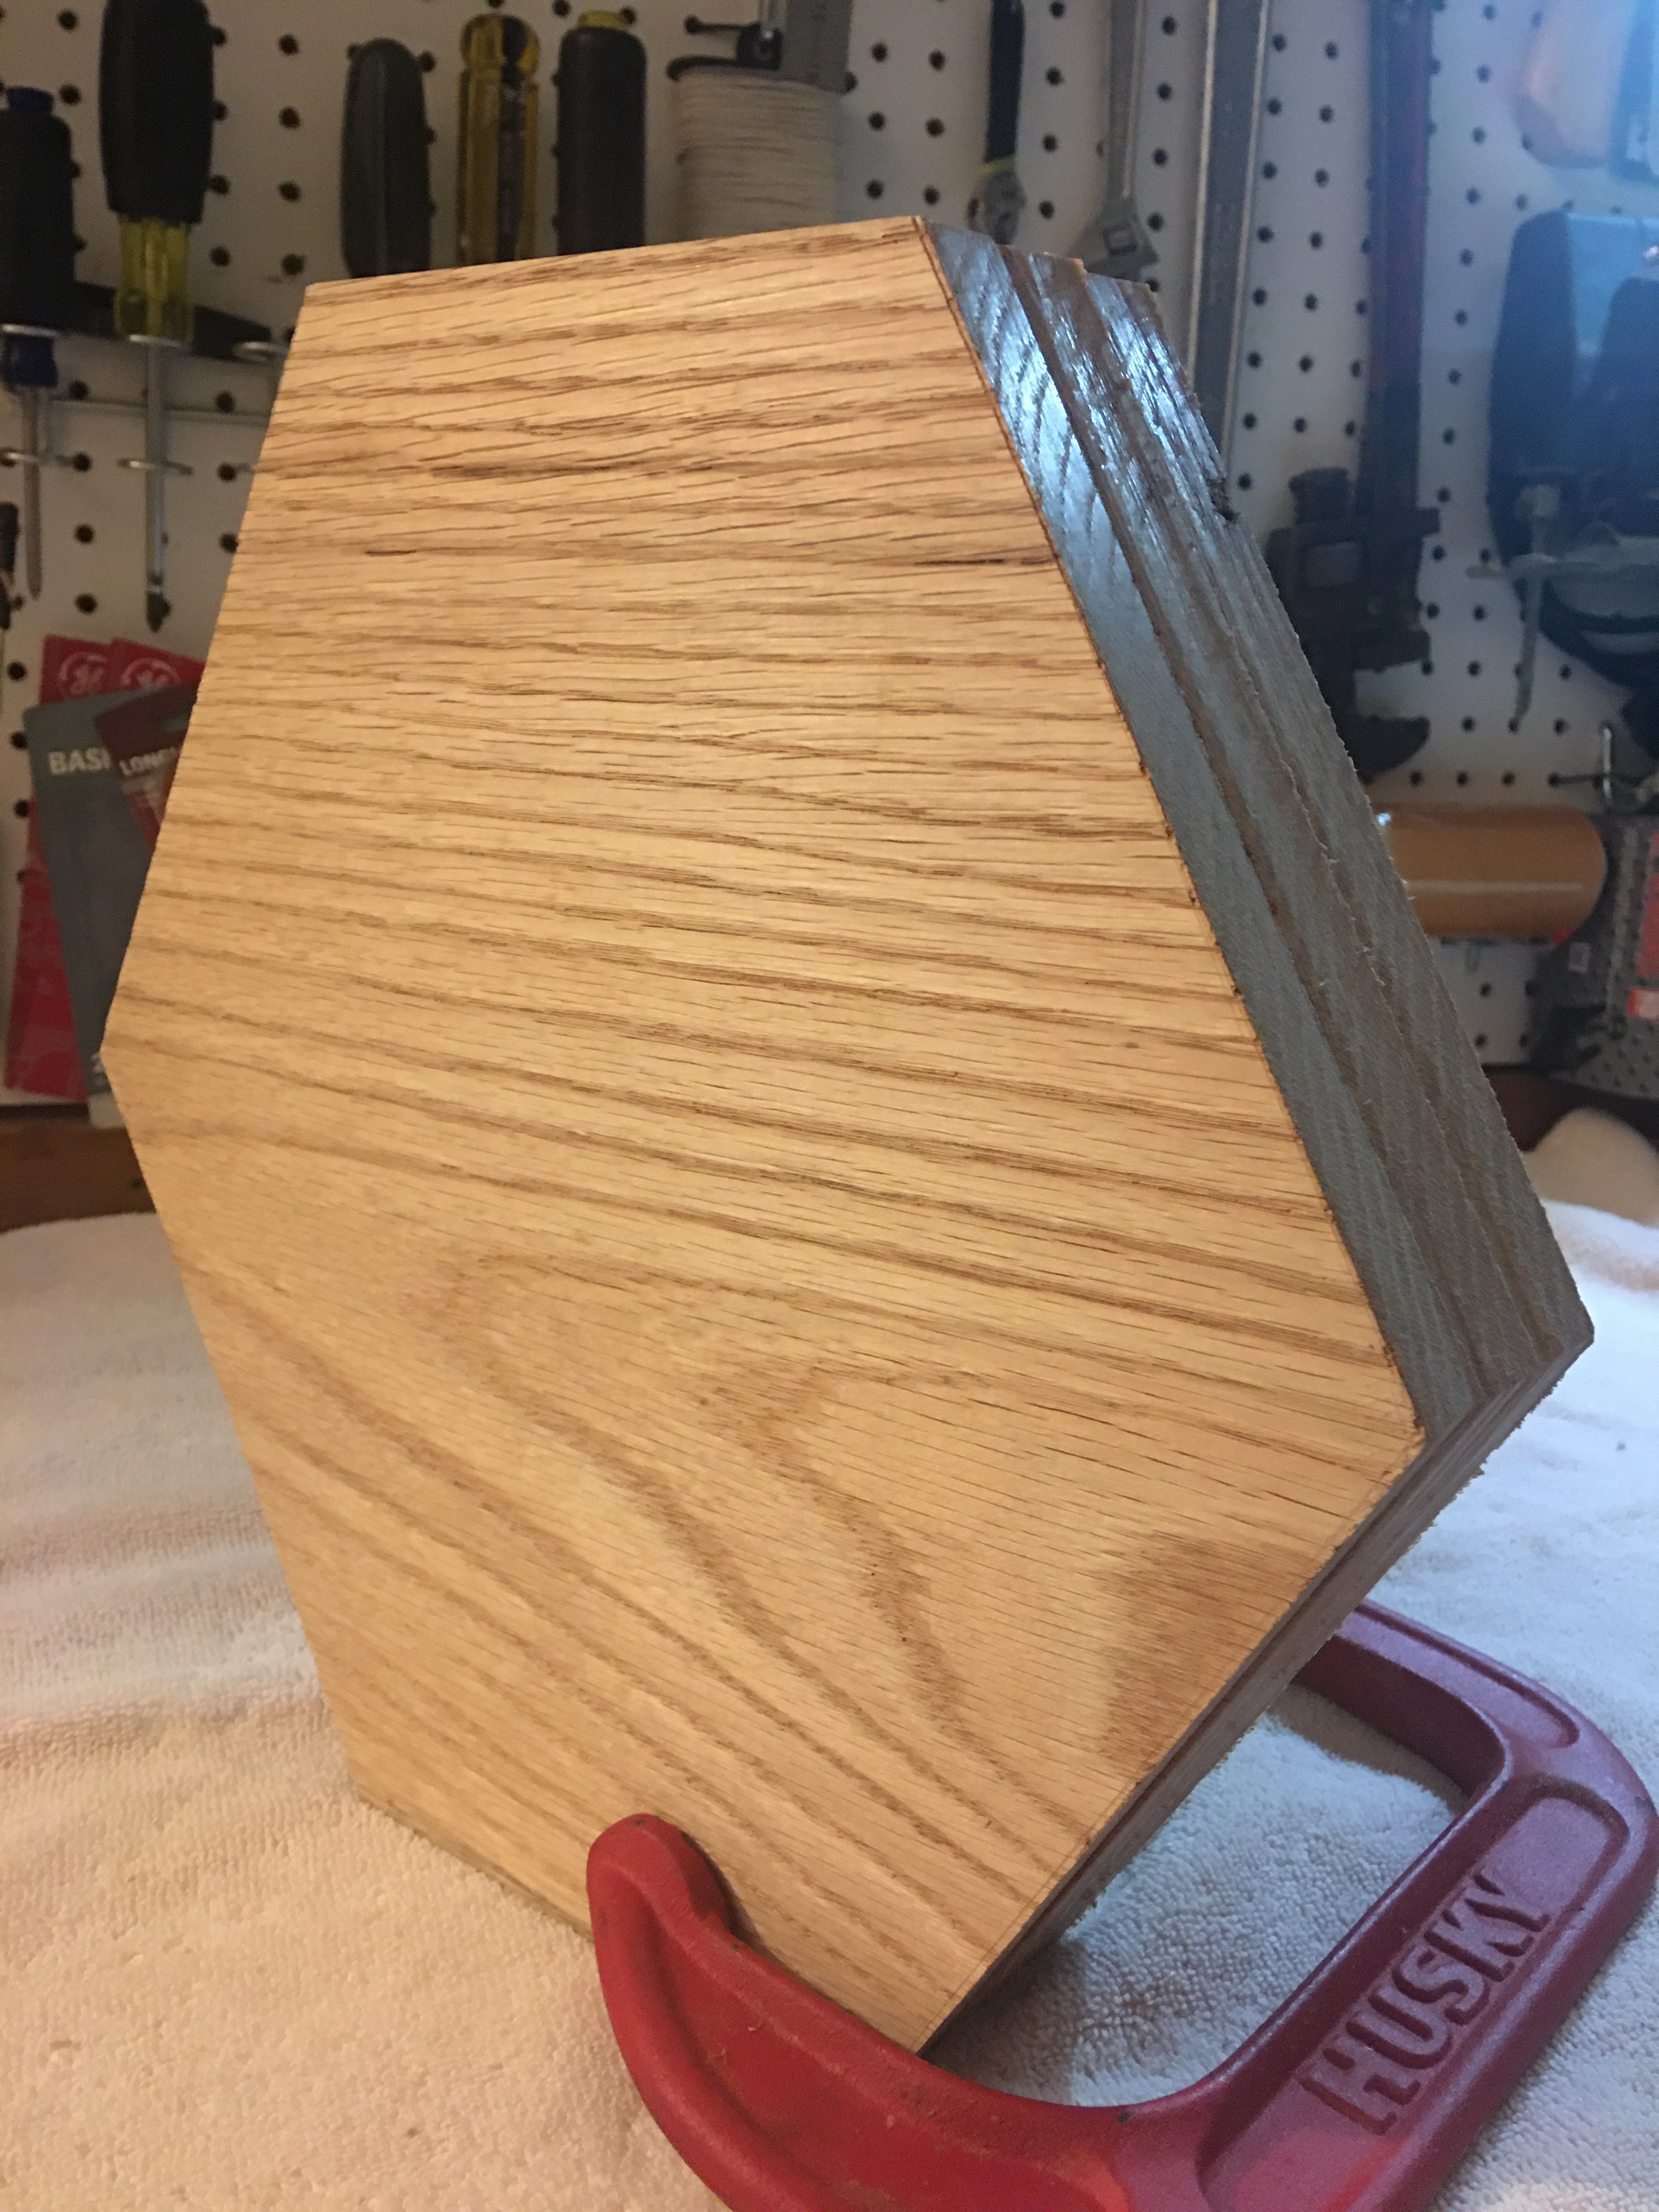
I think it turned out pretty cool! Here is just a quick rundown of the materials we used to get to this point for reference.
- 12x48x1 inch red oak board [from lowes. HAHA!]
- Parchment Paper
- Protractor
- C-clamp
- Miter Saw
That’s all for this installment of banjo build!
Ai_Generated
2023-03-10 - Other - AI Generated
Written by me [Xavi]
I got a little swamped this week so I got myself a little help. Here’s a post from a robot. The prompt I gave it was to write a blog post about how some people may underestimate the utility of AI language models. I then asked it to write a closing paragraph about how this post was created by an AI. Hope you like it.
Written by bot
Artificial Intelligence (AI) has come a long way since its infancy in the mid-20th century. The development of machine learning, natural language processing, and deep learning has enabled AI models to write and create content with incredible fluency and accuracy. One example is OpenAI’s GPT-3, which has shown considerable potential in generating original prose, poetry, and even software code. Despite its potential, some people may not fully appreciate the capabilities of AI language models like GPT-3. They may view them as tools that simply mimic human language without any real understanding of the content they generate. However, these models are created with large amounts of data and sophisticated algorithms, allowing them to generate content that is often indistinguishable from human writing.
While AI language models like GPT-3 are still far from perfect and face significant challenges, they have already made significant strides in various areas of natural language processing. From generating news articles to creating website content, AI language models are proving their worth and could significantly affect content creation in the future. As AI continues to mature, it’s highly likely that we will witness further advancements that will transform our lives and further blur the distinction between human and machine-generated content.
In conclusion, AI language models are not just pieces of software that spit out random phrases or templates. These models represent a significant milestone in AI development, showcasing the power of machine learning and unleashing a world of possibilities for content creation. Although we have a long way to go before these models can match the full range of nuances and complexities of human language, there’s no doubt that AI has already surpassed many people’s expectations and will continue to do so in the coming years.
It’s worth noting that this blog post was generated using AI. As AI continues to develop and push the boundaries of human language, we can expect to see more sophisticated language models that generate content with even greater accuracy and nuance. It will be exciting to see where this technology takes us in the future!
Written by me
It’s getting pretty wild out here.
Building_with_Hugo
2023-03-06 - Web Development - Hugo
As much as I started to enjoy playing around and styling with html/css, it did, at times, become slightly annoying to quickly document progress on projects [which is hard enough to do as it is sometimes]. This was especially true when trying to structure the site to reference identical posts on multiple pages [ie. on the tots page as well on the associated hobby page]. A solution that I have been mulling from the beginning is a static site generator.
What I was looking for was an environment that was extensible enough to eliminate redundant code while also malleable enough to execute the initial vision I had for the website [i know, surprising this website had any vision at all given the look]. Static site generators enable this by, essentially, copying identical html across multiple pages through templates. This maintains the benefits of a static site while addressing one of it’s biggest drawbacks. After some research [googling “best static site generator”], Hugo seemed to check the boxes I had in mind and also looked relatively simple to implement [which is something a lazy person like me really values].
After installing on a local machine with apt install hugo [change apt to your respective package manager], a new site can be created with Hugo with the command hugo new site site_name which creates a directory with Hugo’s default file structure. The main directories that I use are content, layouts, and static. Content is where the actual content of a post is stored [basically the actual meat of the website], layouts is where templates and other code snippets are defined [where hugo pulls the skeleton html to generate posts and lists], and static is where things that are referenced by templates and posts are stored [like images and style sheets].
New content posts can be created with hugo new section_name/post.md which creates a new file under content/section_name/post.md. For example this post was created with hugo new web_development /building_with_hugo.md. Section landing pages can be created by adding a _index.md file under the section directory with hugo new section_name/_index.md [these will call the list template, if you don’t know what that means, read on!].
Hugo posts are written in Markdown which, basically, is a way to define the format of text through some pretty straightforward syntax [trust me, it’s really easy to pick up]. If Markdown’s default behavior is not cutting it for you, it can also be redefined under /layouts/_defaults/_markup.
However, sometimes Markdown doesn’t have all the functionality that html would allow. In these cases shortcodes can be used to inject html into a content page by calling the shortcode with {{< $name_of_shortcode $arg0 $arg1 $arg2 >}}. For example, I have a shortcode to format an image correctly in a post under /layouts/shortcodes/image_sc.html.
    <img class="resize" src="{{ .Get 0 }}" alt="{{ .Get 1 }}" />
    <figcaption>{{ .Get 2 }}</figcaption>
I can utilize this in a post with {{< image_sc "path_to_image" "alt_text" "caption" >}}. Path_to_image will be passed into {{ .Get 0 }} [given its the first argument], alt_text to {{ .Get 1 }}, and caption to {{ .Get 2}}. Shortcodes are a great way to deal with those edge cases when Markdown just doesn’t quite cut it.
Now on to templates. Templates are also placed under the /layouts directory. The two main templates that I’ve used are single.html and list.html [here it is!] under the _default folder. Single.html is used for individual posts while list.html is used for section landing pages which list the individual posts [shocker] in the section. Single pages are hosted at website.com/section/post.md [ie xavishobbies.org/web_development/building_with_hugo ] while list templates will are hosted at website.com/section. [ie xavishobbies.org/web_development ]. These templates are written in normal html but can do fancy things with specified functions and variables. Here is my very simple single template.
{{ define "main" }}

    <div class="tots_post">
    	<h3 class="entry_heading">{{ .Title }}</h3>
    	<h5 class="tots_date_category"> {{ .Lastmod.Format "2006-01-02" }} - {{ .Description }}</h5>


    	<p>{{ .Content }}</p>

    </div>
{{ end }}
This just inputs the post title at {{ .Title }} and content at the {{ .Content }} [pretty straightforward huh?].
And here is a quick example of a list template that is referenced in the Hugo documentation. It loops through all the posts in a section and displays the title of each post as a link to the full post.
// <!-- Ranges through content/posts/*.md -->
    {{ range .Pages }}
        <li>
            <a href="{{.Permalink}}">{{.Date.Format "2006-01-02"}} | {{.Title}}</a>
        </li>
    {{ end }}
It uses range to loop through all content .Pages, and create a list item, <li>, with a reference, <a href=, to the single content page, {{.Permalink}}, with the date, {{.Date.Format "2006-01-02"}}, and the title, {{.Title}}.
Hugo also uses partials, which are templates that can be called by other templates such as single and list and are saved under /layouts/partials. For example, I use a partial to handle my footer which I call from both my single.html and list.html with {{- partial "footer.html" . -}}.
<footer> <a href="{{ .Site.BaseURL }}/index.html">Home</a> </footer>
Again, the whole point is to eliminate redundant code wherever I can without creating a boring cookie cutter site.
Then again some pages need to be completely unique. Things like the main website landing page, 404 page, and other special content can be written completely in html and placed under the layouts directory. These special pages will supersede any previously defined templates.
Hugo also lets you take a look at your site locally, before pushing it to a live site, with the hugo server command. This starts an instance of website at localhost:1313.
Just throw that into the browser of your choice and take a gander. What’s also super cool is that Hugo detects changes and auto generates the site every time it does. This lets you actively see the changes you are making [or for me, shows me how my formatting is wrong, AGAIN].
That’s pretty much everything that I used to build this site. Hope it wasn’t too much of an info overload!